
Adobe Lightroom: Change white balance correctly
In this practical tip, we will show you how to use Adobe Lightroom to change and set the white balance correctly.
Change automatic white balance using Lightroom
If you are not yet familiar with white balance, you can still remove the color cast from the image. Adobe Lightroom has built in the automatic white balance function for this, but this leaves something to be desired.
- Open your selected image from the Lightroom library with a double click. And select "Develop" above.
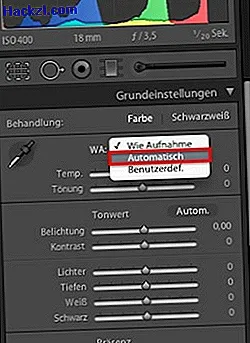
- You then have the "WA" area for the white balance in the modules under Basic Settings on the right.
- Normally the white balance is set to "Like shooting", but you can change it automatically by clicking on it and selecting "Automatic".
Manually regulate white balance - how it works
If you are not satisfied with the result of the automatic white balance, you can adjust it yourself using the controls in Lightroom.
- To do this, select "Custom" instead of "Like shot" in the white balance.
- Below this, the sliders are activated, with which you can regulate the white balance yourself.
White balance: Define a white area in the image
However, it is still best to give the Lightroom program a position in the image that should be defined as white.
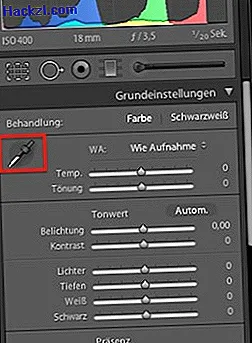
- To do this, press the [W] key in "Develop" mode. Alternatively, you can also select the pipette for white balance.
- A pipette opens with a kind of magnifying glass, with which you then define the white spot in the picture.
- Lightroom automatically adjusts the white balance for your image.
In further practical tips, we will show you how to create HDR images with Adobe Lightroom, or how to create a time-lapse.