Android: Install and use SDK - a tutorial
Related Videos: Android SDK Tutorial | How to Setup Android SDK? | Android Development Training | Edureka (May 2024).
In this tutorial, we explain how to install and use the Android SDK.
Step 1: install JDK
To use the Android SDK, you need the Java JDK.
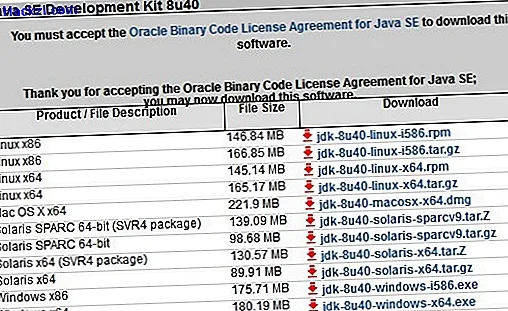
- Go to the Oracle website.
- Click on "Download" at JDK.
- You then have to accept the "License Agreement" and then click on the respective operating system.
- After the download, click on the executable file and follow the installation instructions.
Step 2: install Android SDK
Then download the Android SDK.
- Start the executable file here and follow the installation instructions.
- The location of the JDK is automatically found during installation.
- Once the first step is complete, leave the check mark at "Start SDK Manager" and click "Finish".
- Now the latest Android version is automatically selected for you in the "Android SDK Manager". In addition, check marks are automatically set for various required Android SDK tools.
- Confirm with "Install ... packages", click on "Accept License" and start the installation with the "Install" button.
- The installation takes a while. Finally, close the SDK manager.

Step 3: start Android emulator
- In the programs you will find the "AVD Manager" under "Android SDK Tools". Start this.
- Click the "Create" button.
- Under "AVD Name" enter any name for your virtual device.
- Select your desired device under "Device". Under "Target" enter your Android operating system version.
- You still have various options here to increase the memory or assign an SD card to your virtual device. You should not enter a huge amount of memory under "RAM", otherwise the emulator will often not start. A value like around 600 MB is sufficient.
- Finally, confirm the settings with "OK".
- Mark the created device under "Android Virtual Devices" and start the emulator via "Start" and "Launch".