
Install Arduino driver on Windows
Related Videos: Install Arduino driver on Windows 10 (May 2024).
To be able to program with your Arduino board, you must first install the Windows drivers. We show you how it works.
Windows: Install Arduino software
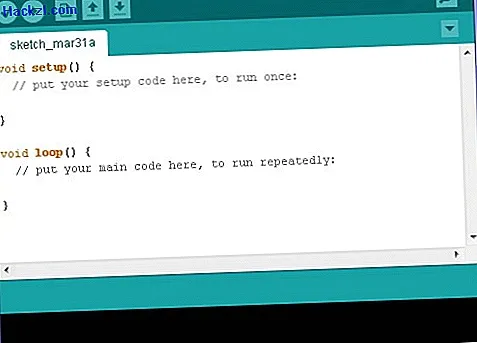
With the help of the open source IDE software (integrated development environment), you can load your sketches onto your Arduino microcontroller.
- Download the installation file of the Arduino IDE and start the installation.
Driver installation under Windows
Connect your Arduino board to your computer with a USB cable. Windows starts a driver installation, which usually fails. If so, do the following:
- Click on the start button and look for the "Device Manager".
- To find your Arduino board, press the small triangle in front of the "Connections (COM & LPT)" item.
- Right click on your Arduino and select the "Update Driver Software" option.
- Press "Search for driver software on the computer" and navigate to the path: "C / Programs / Arduino / drivers". Confirm the driver installation and follow the next steps. The driver is now successfully installed.

Windows: Configure the Arduino IDE
In order for the sketches to be loaded onto your Arduino board using the software, you need to select the right board and port:
- To do this, click on "Tools" in the Arduino IDE and select your Arduino controller under Board.
- Repeat this step for the port that the Arduino board uses.
Basic programming skills will help you write your first Arduino skits. You will find numerous contact points on the Internet to learn programming online for free.