
Audacity: export audio clips
With the free audio tool Audacity you can export sections of clips. This is necessary, for example, if you have digitized a cassette and all the songs are in one file. We explain step by step how to separate Audacity clips in this practical tip.
Export audio clips with Audacity
If you want to save a clip in several files, proceed as follows:
- Open any audio file. To do this, press "Ctrl" "+" O "at the same time and select a file. WAV, OGG, FLAC and MP3 are supported.
- To zoom in on the track, press "Ctrl" + "1". If you want to zoom out, press "3" instead of "1".
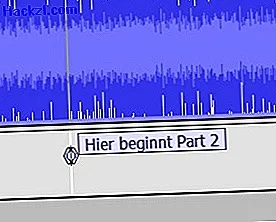
- Press the skip back button. This will land you at the very beginning of the track. Now you broke a label. To do this, press "Ctrl" + "B".
- Play the track with the play button to the point where you want to share it. Use the pause button to stop exactly where you want to split the track. Press "Ctrl" + "B" again.
- If the labels are set correctly, you can export the two tracks individually. To do this, click "File" and then "Export multiple files".
- Now you can choose a format. For example, select MP3 if you want to transfer the file to an MP3 player. You also enter the target directory here.
- The correct option "Bookmarks" is already selected by default under "Create files based on". It is not necessary to tick "Include audio files before the first bookmark" because you have set the first label right at the beginning of the track.
- After you have confirmed with "Export", you can still edit the metadata of the export tracks individually.
- Confirm twice with "Ok". Then the file is exported. If you have selected file formats such as MP3, you may still have to download and install the corresponding codec. You can find out how this works for MP3s here.
Already knew? In Audacity you can create your own keyboard shortcuts and work even faster. You can find out how to do this in this practical tip.