
BIOS update for Lenovo - how it works
In many cases, you have two options for a BIOS update for your Lenovo. This practical tip shows you how to update the BIOS.
BIOS update with Lenovo Tool
Lenovo offers a practical tool for carrying out a BIOS update quite easily.
- The little helper is called "Lenovo System Update". The tool not only updates BIOS, but also Lenovo drivers and applications.
- Before you update the BIOS in this way, you should first look for Windows updates and install them if necessary.
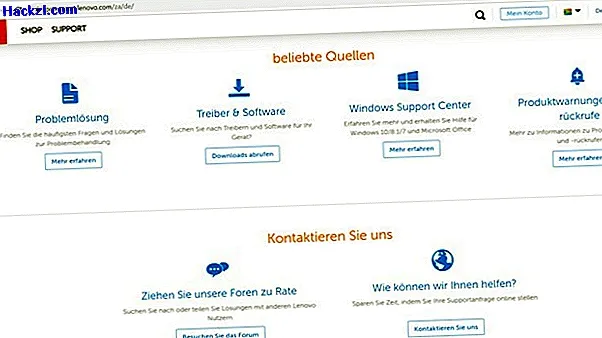
- Then go to the Lenovo support page in your browser. First select your product here.
- Then select the "System Update" tool under "Driver and software".
- However, not every system supports the "Lenovo System Update". You can only use it on Thinkpad, ThinkCentre, Think Station and the Lenovo V, B, K and E series.
Install BIOS update with Winflash
If you use a different Lenovo system, you can install the BIOS update using Winflash.
- First, download the latest BIOS on your computer from Lenovo. To do this, open the Lenovo support page again and enter the product name of your computer.
- Under "Drivers and software" look for "BIOS / UEFI". Select the BIOS that matches your operating system and download it.
- The readme file contains the instructions for installing the BIOS.
- Next, right-click on the BIOS flash package to open the context menu. Select "Run as administrator" here.
- a window is opening. Here click on "Install". Then click on "Flash BIOS".
- A warning message will appear. You will be asked to connect your computer to the socket. Confirm here with "OK".
- The update is now carried out automatically. The system is then restarted automatically.
In our next practical tip, we will explain the differences between BIOS and UEFI.