
Create your own Teamspeak server - a guide
A dedicated Teamspeak server is perfect for online communication with your friends. This practical tip shows you how to create a Teamspeak server under Windows.
How to set up your own Teamspeak-3 server on Windows
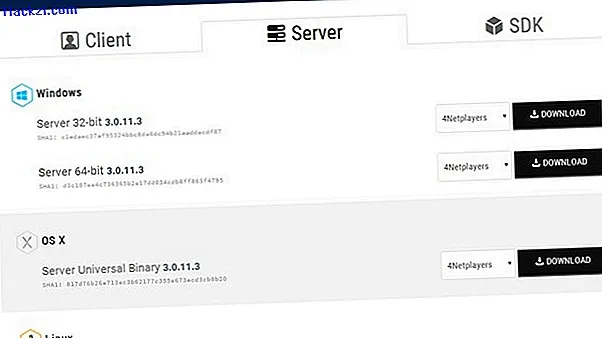
- Go to the Teamspeak download page and click on "Server" above.
- Download the right server for your system here (32- or 64-bit).
- Unzip the archive on your PC or upload it to your Windows server.
- To start the server, double-click the "ts3server_win32.exe" or "ts3server_win64.exe" file.
- The server is started and you receive the password for the administrator account and an authorization key, the so-called "token". With this you get admin rights on your server. Therefore, keep this information carefully.
- If the server was started successfully without errors, you can now connect to the server using the Teamspeak client.
- To do this, use the IP of your Windows server or the local IP 127.0.0.1. If you want to use the server locally on your PC, additional settings in your firewall are necessary so that other users can connect to the server.
- When connecting for the first time, you will be asked to enter the "token". Once you have done this, you can completely administer the server and add new channels or change the server name.
Rent or buy existing servers
Alternatively, you can also rent pre-built servers from numerous providers such as 1 & 1 or Strato. The only restriction: you do not get "Super Admin" access. You can still manage and administer your server.