
Photographing food - the best tips
Related Videos: Smartphone Photography Tips for Shooting Food (May 2024).
Taking good photos of food is not easy. Here are the best tips for taking pictures of your plate.
Tip 1: Natural light for more beautiful photos of the meal
Little is more important for a good photo than good light.
- It is best to use natural light and avoid artificial light sources, which often cause an ugly yellow tinge.
- Also, do not use a flash, as this can lead to numerous unwanted effects.
- A simple light source is a large sun window. Simply arrange the food nearby and the sun will take care of the rest. Of course, switch off all other lamps in the vicinity.

Also pay attention to the shadows that your food casts.
- The light should best come from the side or from your back, so that the shadows also fall to the side or back and are barely visible.
- Make sure that your own shadow does not fall on the food when you position yourself between the window and the plate.
If the sunlight is too strong, for example because the window is too large, use a white cloth.
- By covering the window with a translucent white cloth, the light becomes softer.
- Alternatively, you can also use a white surface, for example the back of a poster, as a reflector. This is how you control the incidence of light and reduce its intensity.
Tip 2: stage food in photos
With the basic technique in place, you can play with your photo scene to breathe new life into your pictures. For example, play with the perspective
- Surprise the viewer by not just taking your photos diagonally from above.
- Vary, for example by looking straight up at the plate. A picture from the side - for example recognizable by the cutlery - or photos from nearby can also inspire.
Subtle decorations set your pictures apart from the crowd.
- Even a simple soup looks a lot fancier if you just let a few herbs and leaves float on it.
- But don't garnish without a system. Few well-placed accents work better than many randomly distributed papers.
- Embellishments can also help you recognize what food you have in front of you. It is therefore best to garnish with objects that are also in the food itself.
Tip 3: Photograph the food process from start to finish
Many people are interested not only in the food itself, but also in the development process.
- Therefore, also add pictures that show how individual ingredients are arranged or mixed in bowls.
- The exact details of course depend on the recipe. Photos that you or another chef shows actively in the action are also well received. It is enough if, for example, you can see a hand that is stirring or pouring.
- You can also work with various focus settings here. For example, arrange several ingredients, but move one of them directly to the foreground.
Conversely, the first bite is also a nice photo motif that brings your scene to life.
- Arrange a small bite on a fork like the actual dish. Depending on the motif, you can then hold them in the picture.
- You can also arrange the plate so that the first bite is visible, for example by leaving a small gap in the salad.
- Here you can play well with distances and, above all, sharpening or blurring.
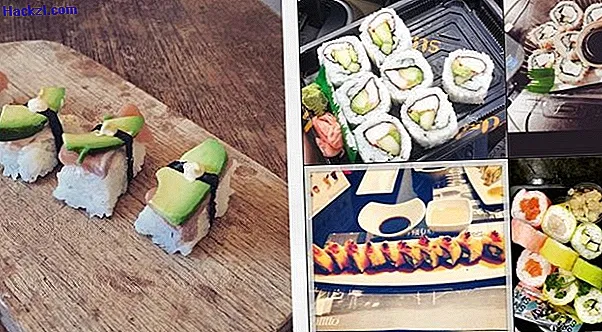
Additional tip: How to take pictures of food with Instagram
Basically, all tips also apply to Instagram photos, but here you can also note the following:
- Play with filters. Especially if a picture has not turned out perfectly, a filter can cover this shortcoming.
- Conversely, there is also the trend towards filterless images. Mix such sets into your albums to present yourself in a variety of ways.
- Also, don't forget the hashtags. Use similar images from other photographers as a guide.
- Here you can also read our tips on how to get a lot of likes on Instagram.
Next, we'll tell you how backlit photography works.