
Create Excel chart - how it works
Raw Excel data looks much more descriptive as a diagram. We'll explain how to make cake, column and other diagrams.
Excel: create charts
- First you need the values for the diagram. Simply create a small table. It is perfectly sufficient, for example, to write the time in column A and right next to it in column B the associated values.
- Select the values in the table and switch to the "Insert" tab at the top and search for the "Diagrams" category.
- Here you will find a large number of diagrams such as column, pie, bubble, ring or bar diagrams. Once you have decided on a diagram type, select it with one click.
- The marked values are now automatically displayed as a diagram. The graphic is now ready, but you can also edit and add to it at any time.
- Change data: To add more data to the diagram, click on the table and enlarge the blue rectangle. This allows you to add individual data to your table.
- Adapt design: With a click on the diagram you can change both the design and the form of presentation. Use the brush to the right of the graphic to select a different style, for example, or adjust the colors of the bars. You can use the plus symbol to add or hide other elements such as labels, lines and a legend.

Shop recommendation for Microsoft Office 365 Home Premium
€ 64.90
To the shop

€ 67.00
To the shop

€ 69.90
To the shop
Offered by BestCheck.de | Prices include VAT plus shipping
Compare other offers
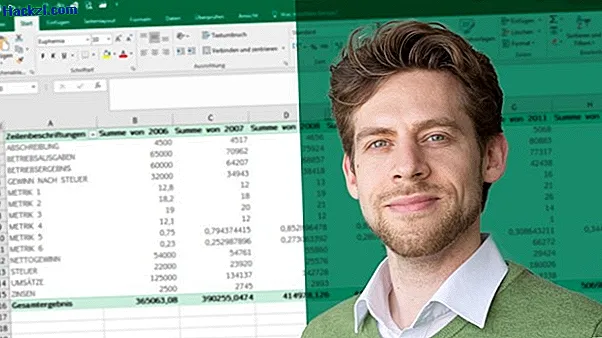
Become an Excel professional with the new course at the CHIP Academy
With the course in the CHIP Academy "Excel: Pivot tables in less than an hour" even beginners learn how to handle a large amount of data quickly and easily.
- Learn in 40 minutes from our lecturer Daniel Kogan what pivot tables are and how to use them sensibly.
- You will learn how to use pivot tables and pivot charts to gain insights and insights from your data that you would otherwise not have been able to access.
- Visit the CHIP Academy and get the extensive online video workshop for 19.90 euros.
This practical tip was carried out under Excel 2013. Under other Office versions, some options may be titled or arranged differently. This practical tip shows you how to protect your Excel documents with a password.