
Set up remote access to the NAS - Here's how
In this practical tip, we explain how to set up remote access to a NAS server in just a few steps.
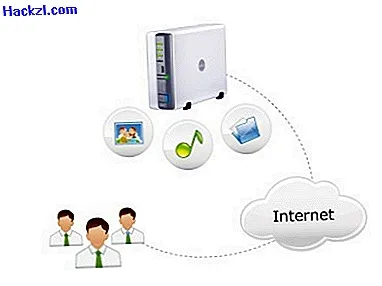
Remote access to the NAS server
A NAS is a central file server that gives you access to your database via connected computers to the home network. As a rule, such a NAS server is only available within a home network and is inaccessible from the Internet. It can be useful if, for example, you are traveling and want to see your booking confirmation of the reserved hotel.
- First, make sure that the provider of your NAS server offers remote access. This is usually the case. Otherwise, contact your provider.
Instructions: Set up remote access to the NAS
To access your NAS server from anywhere over the Internet, you need to configure your NAS server and router as follows. The instructions are based on the router "Fritzbox". Depending on your model, the configuration may differ. However, it is the same for the "Fritzbox" models. Since the settings for the NAS server differ depending on the provider, the instructions are based on the management software "Diskstation Manager" from the manufacturer "Synology". The menu items of other servers are almost identical.
- First assign the NAS server a fixed IP address in the local network so that you can then configure access to the NAS in the router.
- To do this, open the configuration of your NAS and switch to the network settings. In our example you will find them under "Control Panel", "Network" and "Network Interface". The required option is usually called "Manual IP configuration".
- Now assign a fixed IP to the NAS. The "Fritzbox" uses the IP address "192.168.178.1" as standard, so that you select an IP address in the same address range (eg "192.168.178.100"). Enter "255.255.255.0" as the subnet mask and select the IP address of your router as "Standard gateway" and "DNS server".
- First, create a user account on the NAS server and determine which files you want to access from the Internet. It is advisable to limit access to certain files. For example, you should ban access to important contracts and bank statements. This is how you can protect yourself if your access data should fall into the wrong hands.
- To set up a user account, switch to the user management under "Control Panel" and "User" in the NAS configuration. Create a remote access account with Create and Create User.
- Enter "Remote Access" in the "Name" field and enter an individual password with at least eight characters under "Password". For security reasons, you deny the newly created account extensive access rights by first checking "No access" in the group settings.
- In the NAS configuration, switch to user management and define which directories the "Remote Access" account should have. With "No access" you mark directories that you want to block for this account. With "Read & Write" the account can view and edit these directories, whereas with "Read" only the files can be viewed.
- Although you have now set up remote access to the NAS server, you should still take some time to make individual adjustments to optimize the security of the remote access. How to use the "Timer" in the NAS configuration to set the times of the day that your NAS server should be activated.

Before setting remote access, you need to configure the NAS server. Another practical tip tells you how to set up a NAS server yourself.