
Scanning photos correctly - the best tips
Related Videos: CNET How To - Tips for scanning photos (May 2024).
If you want to archive photos digitally, you must first get them on your computer. In this practical tip, we explain what you should pay attention to when scanning your photos.
Scan photos: The photos must be clean
The trick to the perfect photo scan is to properly pretreat the photos. The cleaner the photos are before the scan, the better the result afterwards. We will explain how to prepare the photos in the following list.
- Do not touch the image area with your bare fingers. This leaves fingerprints that are difficult to remove without damaging the image.
- It is best to use lint-free gloves when handling the photos. Instead, you can only touch the images at the edge of the image, but this is not always as easy as you might think.
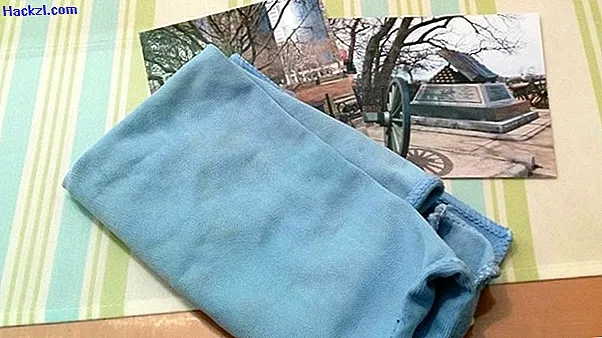
- Remove dirt or dust with a soft brush. A brush that is too hard could scratch the image.
- If there are fingerprints or other visible traces on the photo, it is best to use a microfiber cloth. Ideally, this should be damp.
- Place the prepared photo turned down on the edge area of the scanning surface. Make sure that the photo is straight at the corners. It is therefore not necessary to subsequently rotate the image using software.
- You will find important information about the scanner in the next section. In another article you will also find all the important tips for properly digitizing photos.
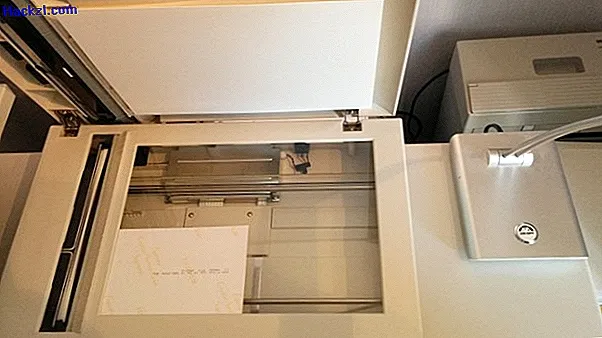
Scanning photos correctly - What must be considered with the scanner itself?
Not only should the photos be properly pretreated - the scanner itself also plays an important role. We show you what you should pay attention to here.
- It is very important that the scanning area is clean. A duster is sufficient for rough cleaning.
- To remove the remaining dirt, you should - as with the photos - use a damp microfiber cloth. This means that the scanning area is protected from scratches.
- Also remember to dust the inside of the lid. Otherwise you have to clean the scan surface again after each scan.
The final touches - tips for configuring the scanner software
If you follow all the tips above, almost nothing can go wrong. Now all you have to do is start the scanning process. Pay attention to the defined DPI in the settings.
- The unit of measurement DPI stands for "dots per inch" and shows how many pixels are created from an inch of the photo later.
- The higher the number of DPI, the higher the resolution of the digital image and the space it will take up.
- To find out the perfect image quality, read here how many DPI your scanned image needs.