
Save the Gimp image as a PDF file - how it works
Instead of saving your images in Gimp format, you can also export the images as a PDF file. We'll show you how to get the best results.
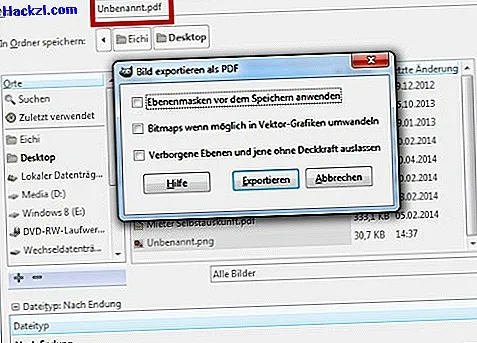
Save images in Gimp as PDF
- Start Gimp and open the picture you want.
- Click on "Edit" in the menu bar and select "Export". Alternatively, the key combination [Ctrl] + [E] is sufficient.
- Select the location of your photo here. At the end of the file name, add the abbreviation ".pdf". Gimp now exports your graphic as a PDF file.
If the results are bad: export images as JPG
If you work with many layers or with Gimp images in the in-house XCF format, the PDF documents are often shifted. You can also work around this problem with a little trick:
- Export your image via "Edit"> "Export" as a JPG file. To do this, simply add the extension ".webp" to your file name.
- Then open the JPG image again in Gimp and export it as a PDF document as described above.
The whole procedure also works the other way around, of course: For example, you can save PDFs as images or edit PDF files in Gimp.