Gimp: Blur pictures - how it works
Related Videos: 5 Best Ways to Blur Images in GIMP - Tutorial for Beginners (May 2024).
If you want to make certain areas unrecognizable with Gimp in your images, then it is best to use the "blur" function. In this practical tip we will show you how.
Blur small areas in Gimp
How to blur images in Gimp:
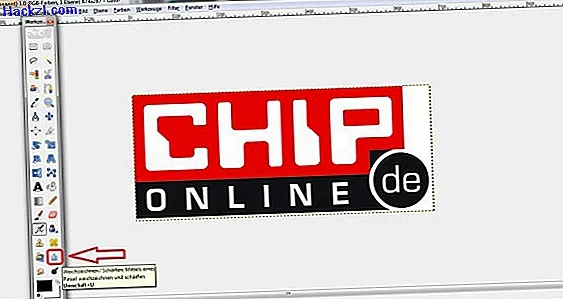
- Select the drop of water in the toolbox (see picture gallery) or press the shift key and "U" at the same time to select the blur function.
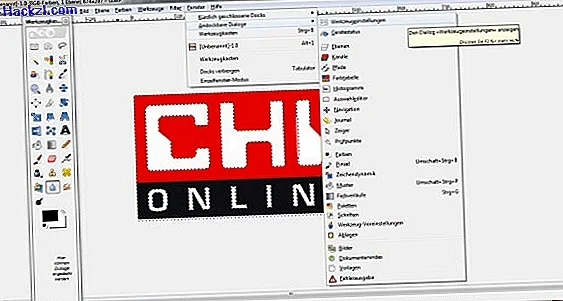
- Usually, a window for the blur settings now appears. If this is not the case, you can also open this window by clicking "Window"> "Dockable dialogs"> "Tool settings".
- Here you can choose settings such as opacity, brush size and different brush shapes.
- Once you have set everything, you can blur the selected area by holding down the left mouse button while driving over the desired area. The more you wipe the mouse over a spot, the less sharp it becomes.
- When you are finished, save your image under "File"> "Export to".
Blur whole picture
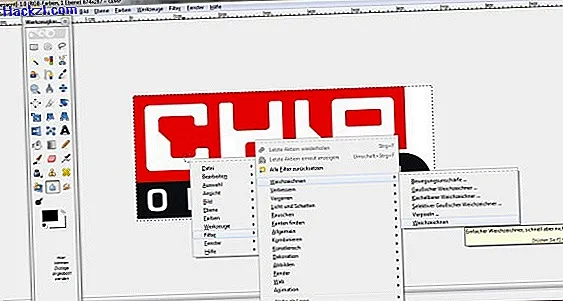
If you prefer to blur the whole image instead of individual areas, then right-click on the image and select "Filter"> "Blur"
If you press CTRL, you will switch to arming mode on the same tool. Here we show you how to cut objects with Gimp.
Latest videos
How to find the blur in the toolbar.
In order to blur the whole picture it is better to select the blur filter.
If you don't see the settings for the blur, you can also open them via the menu bar.