Gimp: Photo as a pencil drawing - how it works
Related Videos: Gimp: How to change a photo into a pencil drawing. (May 2024).
Thanks to Gimp image processing, you don't have to be able to draw to make a pencil drawing out of a photo. We show you how it works.
Gimp: make a pencil drawing from a photo
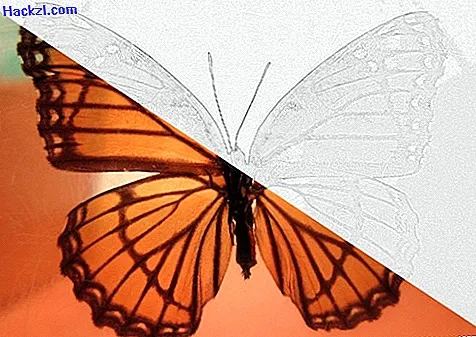
Turning a photo into a pencil drawing with Gimp is not difficult. In addition to the description, you can also follow the individual steps in the picture gallery.
- Use Gimp to open the photo you want to turn into a pencil drawing.
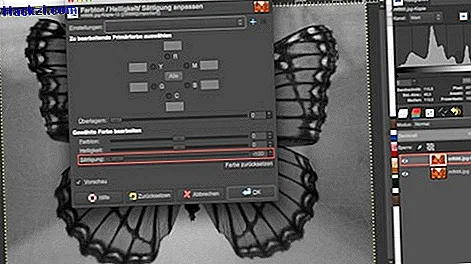
- Duplicate the layer and discolor the image. The easiest way to do this is to set the saturation to -100 under "Colors" -> "Hue / Saturation".
- Duplicate this layer as well and navigate to "Filter" -> "Blur" -> "Gaussian Blur". Set 4 for the horizontal and vertical blur radius and confirm.
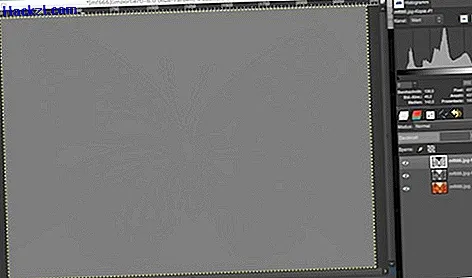
- Go to the "Colors" menu and select "Invert". Then reduce the opacity of the layer to 50 percent.
- Now combine the two discolored layers. To do this, right-click on the top level and select "Merge down" in the context menu.
- To highlight the lines, duplicate the layer you just merged again and change the layer mode for the new layer to "Refine".
- The effect is even better if you then combine the two gray layers again and then duplicate the combined layer again. The new layer then receives the "Multiply" layer mode.
For some effects you need special plugins. Another practical tip will tell you how to install plug-ins for Gimp.
Latest videos
Use the saturation setting to decolorize the photo.
The layer looks like this after inverting.

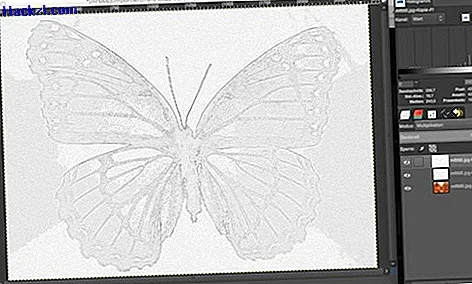
By reducing the opacity, a gray area appears that allows the contours to shine through easily.
At the end, if you duplicate the layer and select "Multiply", the lines come into their own even better.