Gimp: Swap faces - how it works
With GIMP, you can easily swap faces for fun effects.
Select face to swap in GIMP
If you don't have as much experience with GIMP, you should choose faces that have the same perspective. You will quickly achieve success and familiarize yourself with the work steps.
- First open the photo on which a new face is to be mounted.
- Then open the picture from which you want to copy the face.
- Now copy the desired area of the face using the appropriate selection at the top left of the screen (rectangular or elliptical).
- Right-click in the selection you just created and select "Edit"> "Visible Copy" from the context menu. This places the area on the clipboard.

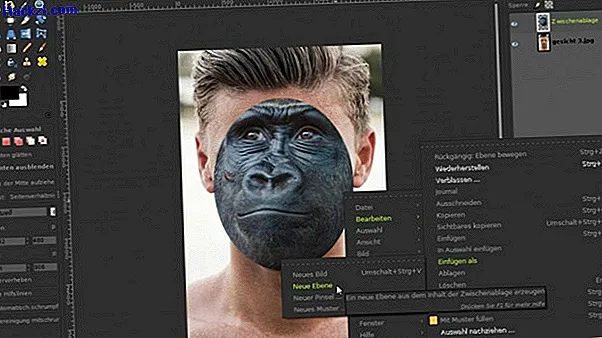
Insert face as new layer in GIMP
- Now navigate to the image that was opened first.
- Copy this content as a new layer. To do this, right-click in the image and select "Edit"> "Paste as"> "New layer".
- Move the face you just inserted as a layer to the appropriate position. To do this, use the move symbol with the blue double arrows from the left window area.
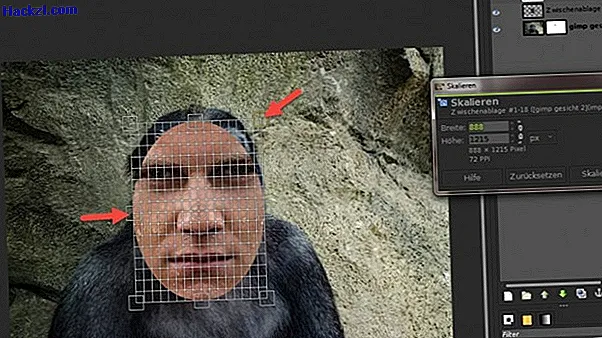
Scale face - so that it looks good
The face must then be scaled so that the sizes of the two templates fit on top of each other.
- To do this, click on "Tools"> "Transform"> "Scale" in the menu bar. A grid appears on the level.
- You can reduce or enlarge the grid accordingly by holding down and dragging the left mouse button.
- Confirm the changes with the "Scale" button.