
InDesign: insert image - that's how it's done
With just a few clicks, you can insert any image in Adobe InDesign. We show you step by step how to do this and tell you a few tricks how you can use your picture afterwards.
How to insert an image in InDesign
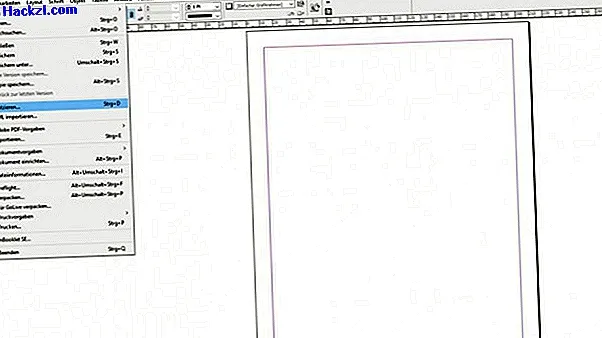
- At the top of the Adobe InDesign menu, click File and choose Place. Alternatively, you can also use the key combination [Ctrl] + [D].
- Now search for the appropriate image on your hard drive and click on your selection. Then select "Open".
- You can use the cursor to select the appropriate position in the document. Simply click the left mouse button to insert the image at the appropriate position.
Use images in InDesign: tips and tricks
Only in the rarest of cases is everything done with this one click. You can still optimize the inserted image:
- If you click and drag on the corner of the image, crop the photo. For example, you can choose a specific section of the image.
- If you want to change the size of the photo, you must first select the "Free transform" tool. With the [Shift] key held down, you can change the size of the image as soon as you drag it around the edges.
- You can also rotate the image in InDesign by first selecting the "Free Transform" tool again and waiting for a semicircular arrow to appear on an image corner. Pull on it, the photo rotates in the desired direction.
We will introduce you to the most important shortcuts for Adobe InDesign in the next practical tip.