
InDesign: Embed fonts - Here's how
Related Videos: How to Embed Fonts to PDF (May 2024).
With Adobe InDesign, the fonts must be embedded before you can export the file as a PDF. Otherwise, some fonts may not be output or may be output incorrectly. We will show you the exact procedure.
Embed fonts in InDesign
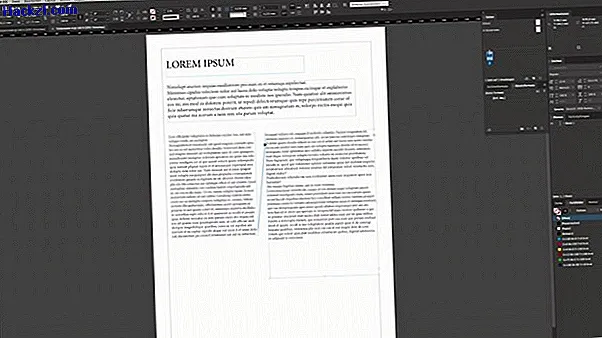
There are countless fonts that you can use for your InDesign project. You can also find many free fonts to download from the Internet, but your print shop may not have saved them on your computer. To ensure that everything looks exactly as you designed it in InDesign, you have to embed the fonts. The font is attached to the print file, so to speak, so that everyone can open and view the file correctly.
- Adobe InDesign usually embeds the fonts used automatically.
- Exception: Some font manufacturers prohibit the font from being embedded. There are legal reasons for this - the manufacturers do not want the font to be passed on.
- To embed all fonts, select the "Export PDF" function as usual and then "Advanced" in the left menu.
- Now you can set under "Fonts": "Partially load fonts if the proportion of characters used is less than X%". Enter 0 here to embed all characters.
Embed fonts: How to check the PDF file
If you are unsure whether all fonts are embedded, you can easily check this in Adobe Acrobat:
- Open your PDF file with Adobe Acrobat and right-click on the document.
- Now a context menu opens in which you have to click on "Document properties".
- The "Fonts" section lists all the fonts contained in the PDF document. Behind every font is whether it is embedded.
- If a font could not be embedded, you must convert the font into paths. To do this, select the appropriate text frame in InDesign and click on "Convert to path" in the Font tab.
- On the next page we show you a comparison of good online printing companies.