
iPhone: delete all photos - how it works
Related Videos: How To Delete All Photos iPhone *IN SECONDS* Select All Hack (May 2024).
To delete all photos on iPhone, you need to do a little trick. So you don't have to delete each picture individually, you save a lot of time. Our instructions show you exactly how to proceed.
Delete as many photos as possible on the iPhone (quick guide)
There is no option on iPhone to really delete all photos at once. Depending on the view, the images are displayed in thematic blocks, so that you can mark many photos at the same time and then delete them.
- Open your "Photos" app on the iPhone.
- Tap the arrow at the top left to go to "Collections".
- Choose a collection with as many photos as possible.
- Touch "Select" in the top right.
- Tap "Select" a second time to select all images.
- Delete the images by tapping the bucket icon in the lower right.
1. Call up photos
After you have opened the Photo app, tap on the "Photos" option in the lower navigation bar and go to the top level using the arrow button in the top left. Then, under one of the years, tap the box with photos.
Important note: Before you delete many files at once, you should always back up your data.

2. Select photos to delete
You will now see several collections for the year. Tap a box with photos here again to go one level deeper into the collections.

3. Choose photos on iPhone
First go to the "Select" option in the top navigation bar. Then you will see the "Select" option behind each collection. Tap here all blocks with pictures that you want to delete.

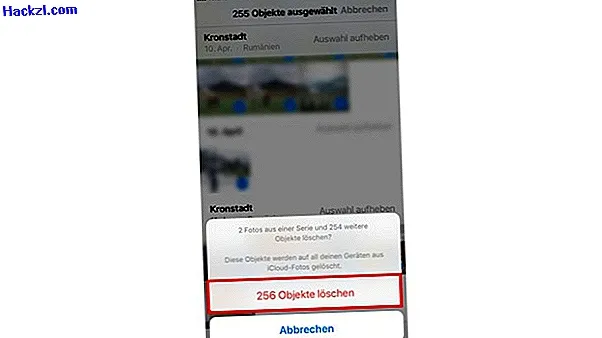
4. Delete photos
After you have marked all collections, click on the trash bin at the bottom of the navigation bar and the recordings are permanently deleted from iPhone. If you have a lot of pictures on iPhone, it will take quite a while to delete all the pictures. In any case, you are faster than removing photos one by one.
Tip: Next time, create folders yourself under "Albums". This makes it much easier to delete pictures later.
If you have deleted too many pictures, you can restore the pictures. In another article we show how to do it.