
Java: Fix error code 1601 - how it works
In rare cases, the installation of Java may fail with error code 1601. We will explain how to solve the problem and how to use Java again.
Troubleshoot Java 160 error - method 1
If the installation of Java aborts with the error code 1601, you should first restart your PC and then try the installation again. If this also fails, follow these steps:
- Press the key combination [Win] + [R] to open the Run dialog. Enter the command "services.msc" (without quotation marks) and confirm with "OK".
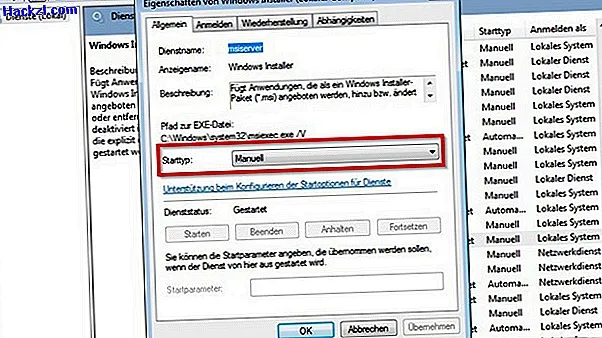
- In the list "Services (local)" look for the entry "Windows Installer" and open it with a double click.
- If the start type is set to the value "Deactivated", change it to "Manual". Then click on the "Start" button. Now try to install Java again.
Troubleshoot Java 160 error - method 2
If you continue to encounter error 1601 during installation, you can also try the following:
- Open the Windows Run dialog by pressing the key combination [Win] + [R].
- Enter the command "msiexec / unreg" (without quotation marks) and confirm with OK. Now restart your PC.
- Open the Run dialog again with the key combination [Win] + [R].
- Now enter the command "msiexec / regserver" (without quotation marks) and confirm the entry again with OK.

Error 1601 - Remove Java completely and reinstall
If you already have Java installed but receive error 1601 when running Java-based applications, you should completely remove and reinstall Java. The best way to do this is as follows:
- Uninstall Java using the Windows Control Panel.
- Download the latest version of the Java Runtime Environment and use the offline installer as it contains all the necessary files without having to download them during the installation. At Chip you will find the right version for 32-bit and 64-bit systems.
We will explain how to fix Java error code 1618 in our next practical tip.