
Kodi: Set up the xStream addon - how it works
Related Videos: 2019 OCTOBER!!! HOW TO INSTALL THE XSTREAM KODI ADDON (May 2024).
XStream gives you access to numerous streaming services in just one application. This practical tip shows you how to install the addon in Kodi.
xStream: Install addon in Kodi
Using xStream in Kodi is relatively simple and intuitive. During the installation, however, you are stuck without instructions. Just follow these steps.
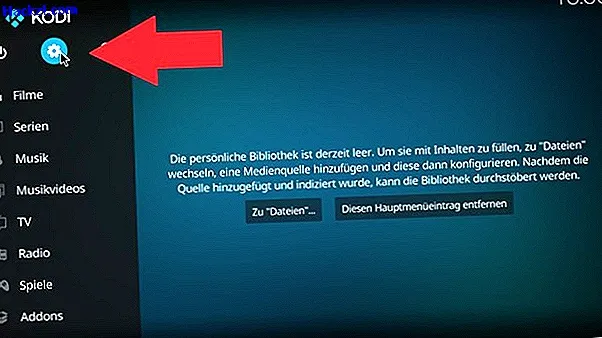
Step 1: Open Settings in Kodi
Start Kodi and select the "Settings" via the gear icon in the top left.
Step 2: add source
In the "File Manager" double click on the "Add source" item.

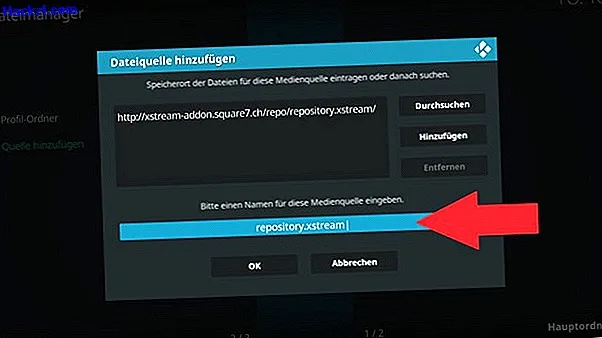
Step 3: enter source
Double-click the "None" entry and copy the following source without quotes into the text field: "//xstream-addon.square7.ch/repo/repository.xstream/"

Step 4: name the add-on
Give the source any name and click on the "OK" button.
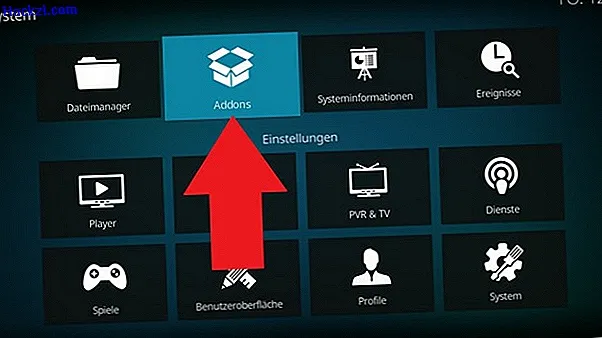
Step 5: switch to add-ons
Back in the settings, select the category "Addons" above.
Step 6: Select the add-on as a ZIP file
Via the point "Install from ZIP file" you can now find the source you just added and the ZIP file you are looking for.

Step 7: allow installation
If the installation of ZIP files is blocked for security reasons, first deactivate the corresponding function in the settings under "System" and "Addons".

Step 8: navigate to xStream
In the "Addons" area, click "Install from repository" and under "xStream Repository" and "Video addons" select the entry "xStream" at the bottom.

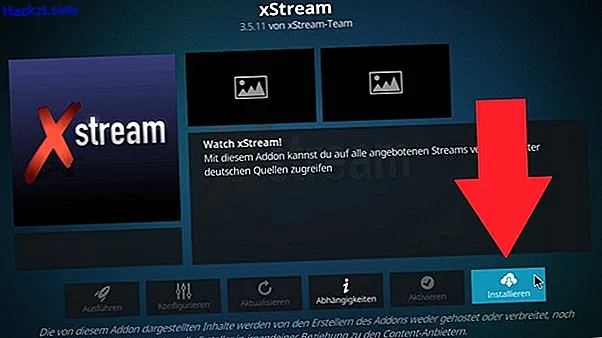
Step 9: Complete installing xStream in Kodi
Click on the "Install" button at the bottom right, you will then find xStream in the "Addons" category and can start it from there.
Note:
We strongly advise against using this addon for illegal streaming. You can do this if you have received a warning for illegal streaming.
In the next practical tip, we will show you how to receive live TV via Kodi.