
LibreOffice: cells protect against changes
How to protect cells from changes in LibreOffice is explained in this practical guide.
Protect cells in LibreOffice
In LibreOffice, cells can be protected against accidental changes. To do this, follow the steps below.
- Select the "Protect document" option under the "Tools" menu item and click on "Table".
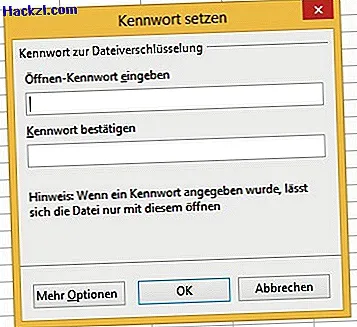
- If you enter a password, the document can only be edited if you unlock it by entering your password. However, the password is optional - you can also simply protect the cells without setting a password.
- If you confirm the process by clicking "OK", all cells of your document will be protected. However, you can also select certain cells that can still be edited.
- To do this, mark all cells that should not be affected by the protection. Then select the "Format" item in the menu and click on "Cells".
- Remove the check under "Locked" under cell protection and confirm with "OK".

- Alternatively, you can click on "Hide formula" to hide all formulas to protect them from changes. By clicking on "Hide for printout", all cells will still be displayed in the document, but not for a printout.
Protect document from unauthorized viewing
However, the above process does not represent complete secure protection, as the protection of the document can be removed by converting it to another document.
- It is more secure to save in OpenDocument format with password protection. To do this, select "Save as"
- Then check the "Save with password" box.
- You can then set a password that must be entered each time the file is opened.
In the next practical tip we will show you how to use conditional formatting in LibreOffice.