Mac: Create Fusion Drive yourself - how it works
Related Videos: How to Make a Fusion Drive! (feat Pogo - Coding and More) (May 2024).
Apple offers you the possibility to equip your Mac with a Fusion Drive. This practical tip shows you how you can create it yourself without much effort.
Create Fusion Drive yourself on Mac OS
- The requirement for creating the Fusion Drive is OSX 10.8.2 or newer.
- You should also have an internet connection to be able to reinstall.
- You also need an SSD and an HDD, which are installed in the Mac, as well as a current TimeMachine backup of your entire system.
Building Fusion Drive on Mac OS: How To
- Restart your Mac and press the CMD + R key combination at startup to open the recovery console. If it doesn't, download the Apple Assistant.
- Switch to the hard disk utility and format the hard disk using the "Delete" menu item. You have to select the file format "hfs + Format (Mac OS Extended (Journaled)". Please note that this will delete all data - you should make a full backup beforehand.
- Close Disk Utility and open the Terminal. Enter "discussil list" here. Usually the two installed hard disks are displayed.
- Now enter the command "discussil cs create FusionDrive disk0 disk" to create a so-called "Logical Volume Group", which contains the SSD and the hard disk. "FusionDrive" is just a placeholder, you can freely choose the name.
- When creating a so-called UUID is output, which you should copy, as you will need it in the later step.
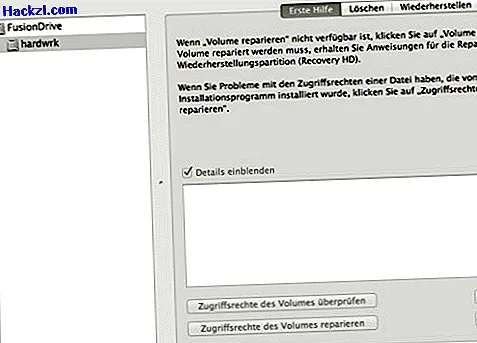
- To set up the Logical Volume Group as a Fusion Drive, enter the following command: "discussion coreStorage createVolume UUID jhfs + hardwrk 610g". Note that you must replace the "UUID" variable with the actual UUID of your hard disk. The "Hardwrk" variable denotes the name of the hard disk, which can be freely selected.
- Close the terminal and start installing OS X. Then you have to import the TimeMachine backup and you have access to your Fusion Drive.