
Create thumbnails with IrfanView - Here's how
With IrfanView you can easily create small preview images - so-called thumbnails - of your photos and use them as you like. In this practical tip we will show you how.
Create thumbnails in IrfanView
The freeware IrfanView has a practical thumbnail view in which the photos of any directory are displayed as thumbnails. From there you can save them in different ways:
- Open IrfanView and press the [T] key in the main window to open the thumbnails view.
- In the left pane of the window, navigate to the directory with your pictures.
- In the right area, mark the images for which you want to create or save the thumbnails.
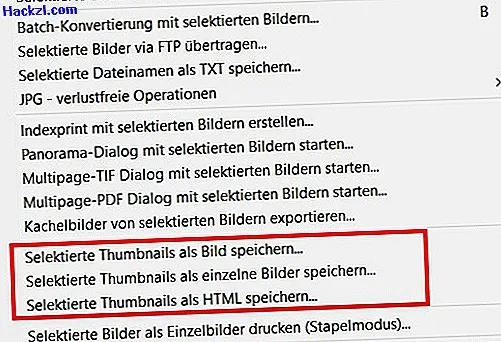
- Click on "File" in the menu bar. You now have three options: You can save the thumbnails in a single image, output them as individual images or generate an HTML document with the thumbnails.
- "Save selected thumbnails as image ..." - this creates a single image in which the thumbnails of all marked images can be seen side by side.
- "Save selected thumbnails as individual pictures ..." - with this function IrfanView saves the thumbnails of the marked pictures in the specified directory.
- "Save selected thumbnails as HTML ..." - this option creates an HTML document in which the thumbnails are listed. Among other things, you have the option of linking the original files with the thumbnails or changing the number of columns.
We will explain how to crop images in IrfanView in our next guide.