
Moto G: Change the battery - how it works
You can change the battery of the Moto G with a little manual skill, even if it is permanently installed. In our instructions, we will show you how to do this.
Replacing the battery on the Moto G: you have to take this into account
- Changing the battery can void your warranty. Motorala explicitly points out that the battery must not be removed by the user.
- For your own safety, only install an original replacement battery.
- To open the inner housing you need a Torx screwdriver (T5) and ideally also a small plastic tool to open the housing. An EC card or similar is sufficient for this in an emergency.

CHIP does the test: What is the Moto G really good for?
Step 1 for changing the battery on the Moto G: preparation
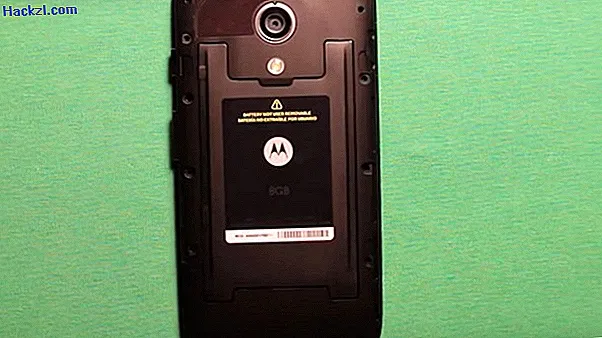
The first thing you need to do is prepare your device for the change and reveal the case. Before you start, you need to switch off your Moto G.
- Then remove the back cover on the back. To do this, move your thumb to the microUSB port on the lower side of the Moto G and gently pull the back. Little by little you can carefully remove the cover.
- Then remove the SIM card. The slot is at the top of the page, opposite the volume buttons.
- Now make sure once again that your Moto G is actually switched off.
Step 2 for changing the battery on the Moto G: Open the housing
Now that you have access to the housing and your device is ready, your Torx screwdriver is used:
- The housing is fastened by a total of 14 Torx screws that once encircle the device. Carefully unscrew each of these 14 screws and carefully set them aside.
- Start to carefully detach the housing at the top right corner. Use your plastic tool to slowly open the case further until you reach the bottom of the microUSB port. Now you can remove the housing.
- Now the battery is open and you have to turn the device once by 180 degrees.
Step 3 for changing the battery on the Moto G: replace the battery
Now that you have exposed the inside of the Moto G, you can change the battery:
- After turning 180 degrees, you will see a small connector in the top right, which is connected to the battery with a bronze band. Carefully pull the connector off with your plastic tool.
- As soon as this connection is cut, you can remove the battery. To do this, use a small piece of plastic diagonally opposite the connector, which you can use to pull out the battery. Make a note beforehand of the position in which your battery is located.
- Insert your new battery in exactly the same position and connect it to the connector. Make sure everything is holding properly.
- Screw the housing back on with the 14 Torx screws, insert the SIM card and close the back with the back cover. Now you can switch your Moto G back on and use the new battery.

Read on the next page how to get more space on your Moto G.