
Install and use Nvidia Control Panel - Here's how
Related Videos: How to Properly Install NVIDIA Drivers 2020 - Manual Install Explained | Windows 10 Tutorial (May 2024).
Owners of a graphics card from the manufacturer Nvidia have quick access to the most important settings via the Nvidia control panel. We will tell you how to install the control panel and use it efficiently.
Install Nvidia Control Panel
The Nvidia Control Panel is part of the GeForce drivers for your graphics card. Therefore, make sure that you have installed the latest graphics card driver.
- You can download the driver for Windows 10 from us. This works with all desktop graphics processors of the GeForce 600, 700, 900, 10, 16 and Titan as well as the RTX series.
- The driver for Windows 7/8 / 8.1 is also available for download from us.
- Special drivers also exist for older Nvidia graphics cards and other operating systems. To do this, open this Nvidia website. However, please note that the Nvidia control panel is not available for all models.
Start Nvidia Control Panel
After the installation you will find the icon of the Nvidia Control Panel in the lower right corner of your task bar. Right-click on it and select Nvidia Control Panel . If this does not work, navigate to the folder "C: \ Program Files \ NVIDIA Corporation \ Control Panel Client" in Windows Explorer and start the file nvcplui.exe here . You then have access to the following functions:
- System information : If you click on the corresponding function in the Nvidia control panel at the bottom left, you will receive extensive data on your installed graphics card. Here you can see the DirectX version installed, the clocking of your GPU and the exact model of your graphics card.
3D settings at Nvidia
Use the 3D settings in the Nvidia control panel to make changes for applications.
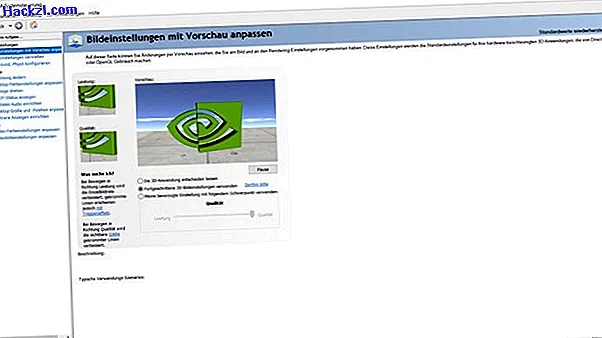
- Adjust image settings with preview: In this section you adjust the general graphics settings . For beginners it is advisable to choose "Let the 3D application decide". Alternatively, focus on performance or quality or adjust the settings yourself.
- Manage 3D settings: In this tab you can adjust your graphics settings in general or program-specific. For example, choose a default setting for antialiasing or texture quality in games.
- Configure Surround, PhysX: The in-house feature "Nvidia PhysX" is intended to further improve the quality and performance of games that support this function.
Configure the display
The display menu offers you, for example, configuration options for the resolution of your monitor or the color display.
- Change resolution: Here you define the desired resolution for all displays connected to the monitor.
- Adjust desktop color settings: In this section, you can adjust the display of colors on your screen.
- Rotate display: This function is useful if you are using your monitor vertically.
- Show HDCP status: This section informs you whether your hardware supports HDCP copy protection.
- Set up digital audio: On this page you configure audio playback with supported hardware.
- Adjust desktop size and position: Here you can realign your desktop if this does not happen automatically. This function is often useful especially for televisions.
- Set up multiple displays: If you have connected more than one screen to your graphics card, switch between the different display options and expand or clone the desktop.
- Adjust video color settings: Here you can fine-tune the colors especially for video content.
- Adjust video image settings: For supported graphics cards, activate edge enhancement, noise reduction and interlacing for videos here.