
Smooth objects from 3D printing - that's the best way
You can achieve a smooth surface of your 3D print by various methods. We present the best of them to you.
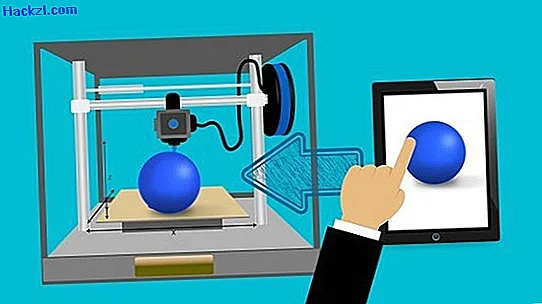
A smooth 3D print starts with the right preset
No matter how good your template is for 3D printing: before you can enjoy your DIY result, you usually have to smooth it out. There are different ways of getting the filaments that your 3D printer processes into objects. How much you have to post-process your print depends on the default setting.
- Make sure your slicing software is tailored to the type of filament you are using. In this way you avoid unclean prints, which you have to process much more laboriously in order to achieve a smooth surface.
- A higher layer height means more rework. If you set a high resolution, you will end up with less smoothing.
- You cannot easily edit every print. It must have sufficient stability, for which there should generally be three to four outer layers. In addition, the inner filling also contributes significantly to stability.
Sanding, cutting, filling
Various tools are available to remove the excess material.
- Craft knives, carpet knives and side cutters are particularly good for removing supports from 3D printing.
- Use a deburrer for burrs and threads. It works like a vegetable peeler. Alternatively, you can use sandpaper for rounding.
- To ultimately get a smooth, even surface without grooves, use sandpaper as well. You can use something coarser and fine paper at the end.
- Use an electric hand grinder on large flat surfaces. Pay attention to the surface temperature of your print. Plastic becomes soft when the temperature is too high and can start to smear. So do not grind in one place for too long.
- A multifunctional tool with various attachments can make your work easier for hard-to-reach places. Again, pay attention to the surface temperature while working.
- Close large pores and gaps with a plastic spatula. But be careful: the filler mass is different in color from your print. If you don't mind that or paint your object, you can save yourself so much sanding work.
Spray spatula for form-rich prints
- The spray spatula straight from the can. You can use it to work on any shapes that are too difficult with the previous methods.
- You proceed like painting. Apply the layers carefully and evenly. Not too much at once, otherwise noses are at risk.
- Until the surface is nice and smooth, you need several layers. Allow each layer to dry for at least half an hour.
3D printing smooth with epoxy resin
- Epoxy resin is viscous and consists of two components. You can apply it with a brush. As a rule, you have a smooth surface after just two layers.
- The resin must be mixed very precisely. Use a fine scale, for example.
- Alternatively, you can buy more expensive special 3D printing epoxy. You only need one work step and the result is usually better than with normal epoxy resin.
- Please note that small details on the print can be lost due to the thick flow resin. The resin is also transparent. Bumps and print layers remain visible despite the very smooth surface.
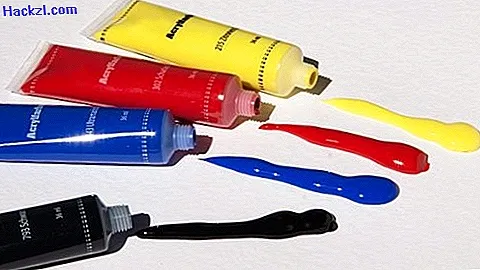
Fill in small grooves with paint
- If you want to paint your print anyway, acrylic paint, for example, is very suitable. You can simply apply them with a brush and when the layer of paint is thick enough, it fills in small grooves and bumps.
- Make sure beforehand that the surface to be treated is free of dust and grease. Also use a primer for an optimal color result.
- Do not apply the next layer of paint until the previous one is dry.
In our next practical tip, read how to convert photos into 3D models.