
Outlook: Set up read confirmation for emails
In Outlook, you can set up a read receipt in just a few steps. We'll show you exactly how to do it.
Here's how: Set up read confirmation for emails in Outlook
- Start Outlook and click on "Options" under "File".
- Select the "Email" option on the left.
- Scroll down a little until you get to the "History" setting.
- Place a checkmark next to "Read confirmation, which confirms that the recipient has displayed the message".

Read confirmation for selected contacts - you have to do that
Instead of generally activating the read receipt, you can only assign it to individual contacts:
- Call up a sent mail in Outlook.
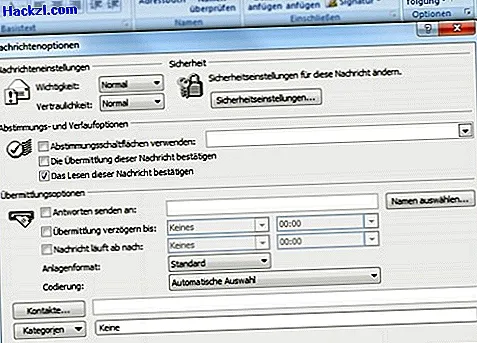
- Maximize the options in the "Tracking" tab by clicking the icon at the bottom right.
- Check "Confirm reading of this message".
- Repeat this process for the contacts of your choice.
You can also graphically enhance your email signature in Outlook. We will show you how to do this in another practical tip.