Photoshop: insert image - so it'll work
With Photoshop you have numerous options if you want to insert an image into an existing work surface. We show you the most efficient procedure in this article. We'll also explain how to get the pasted image right.
Insert image in Photoshop - that's how it's done
First, of course, you have to open the first picture, into which a second one will be inserted later. This is done via "File" »" Open ". You can then insert an image:
- Click "File" in the top left.
- In the open drop-down menu, select "Place" (see screenshot).
- A file manager then opens, allowing you to select the image to be inserted. To do this, navigate to the respective file, select it and click on "Place" at the bottom right.
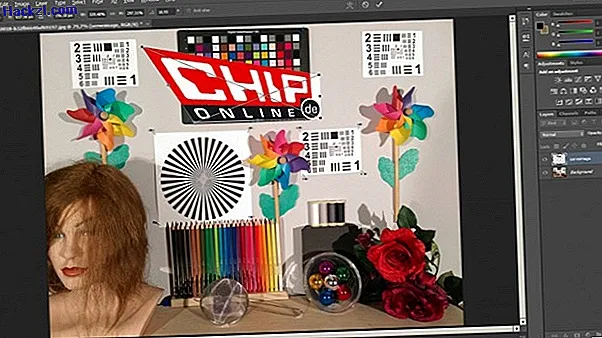
- Now the inserted picture can be seen on the work surface and is already selected. In the next section, you can read how you can now adjust this to the correct size. By the way: The picture was inserted in a new layer. The layers are usually listed in Photoshop at the bottom right. How to connect layers can be read in another article.

Photoshop: insert and transform image
- Move: To change the position of the inserted image, click and hold it with the left mouse button. Move the mouse to the desired position and release the button.
- Scaling: You can enlarge or reduce the image by moving the mouse to a corner or edge. The mouse pointer then changes into two arrows that pull apart. Just click and hold and move the mouse in or out. Tip: If you hold down the Shift key, the aspect ratio is retained.
- Rotate: To rotate the image, the mouse pointer must be outside the image. In this case, Photoshop displays a curved arrow instead of a mouse pointer. Click and hold the left mouse button and drive either clockwise or counterclockwise. Tip: With the Shift key pressed, the image is rotated in 15 ° steps.
- Distort: If you want to create an effect like on the screenshot, you have to hold down the Ctrl key while clicking and moving the image edge with the left mouse button.
- Tip: Guidelines are very helpful when positioning. Read how to use them in Photoshop on the next page.