
Photoshop: remove yellow tint - how it works
You can easily remove unwanted color shifts like a yellow tint in Photoshop. In this practical tip, we show you how to proceed.
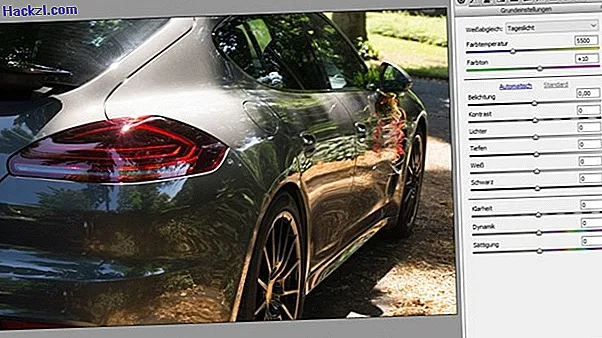
Remove yellow tint in Photoshop: white balance with images in RAW format
The easiest way to solve the problem is to have your images in RAW format. When opening with Photoshop, a large dialog window automatically appears in which you can set all sorts of things.
- With the dropdown "White balance" you can choose from a few predefined color temperatures, which mostly offer a suitable setting for your picture. Adjust the white balance on the camera to prevent color shifts.
- Alternatively, you can of course play carefully with the color temperature control to remove the yellow tinge from your picture. Don't forget to take the color tone into account for the final fine-tuning.
- You also have the option of making further exposure settings.
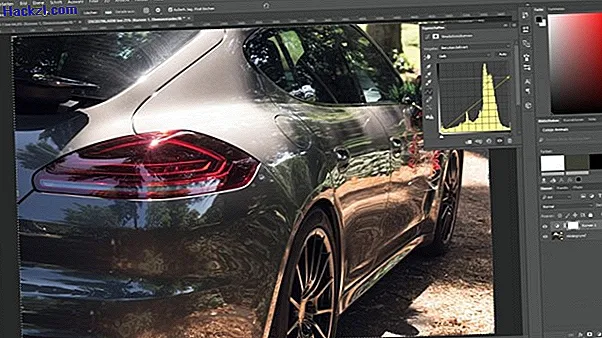
Remove yellow tint: adjustment via CMYK gradation curves
If your image is not in RAW format, but only in JPG format, there are still precise ways to remove the yellow tone from your image.
- First convert your image into the CMYK printing inks so that you can process yellow as a color tone in isolation. To do this, click on "Image", "Mode" and finally on "CMYK color".
- Since CYMK is the larger color space compared to RGB, the exact color tones are appreciated by Photoshop. This is done using color profiles. You have to confirm the conversion of the colors in a separate dialog box.
- Use the button with the half-filled circle in the level overview to create a new setting level and select the gradation curve.
- In the newly opened window you can select the color yellow in the lower dropdown. Then pull the count's upper right corner down a little until you like the result of the picture.
Yellow tint in Photoshop: adjustment via color balance and hue / saturation
Another simple but useful way to remove the yellow tint is to make adjustments using the "Color Balance" and "Hue / Saturation" sliders
- You can access "Color balance" using the "Image" buttons and the "Corrections" menu item. "Hue / Saturation" can be found in the same menu. Play with the controls until you like the result.
- All settings from this area must be coordinated, which makes this process somewhat cumbersome and unwieldy. Most of the time, the result is not as nice as the gradation curves because some image information is lost.

Adobe Photoshop CC: Innovations in the first test
This practical tip shows you how to change the eye color with Photoshop.