
Photoshop: remove gloss - how it works
Related Videos: Removing Reflections in Photoshop (May 2024).
In Photoshop, you can quickly remove the shine on your skin. We present the two simplest methods in this article.
Touch up photos with the "Move content" tool
The "replacement" of the too light skin with other skin areas is possible via the retouch functions of Photoshop. In order to be able to follow the steps better, we recommend our picture gallery.
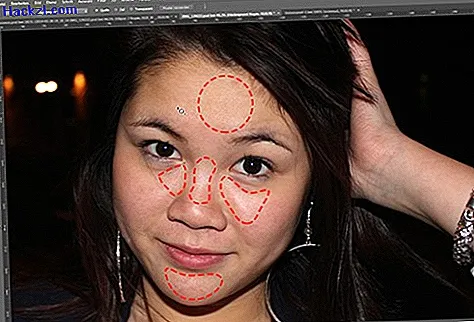
- You can use the menu bar to select the "touch up" tool. Use it to mark the shiny area.
- Now drag the marked area onto a similarly large area of skin. Darker areas of the same skin type are best suited for this.
- By further repairs according to this scheme, you can easily clear entire faces of reflections and shine.
- Tip: The more precisely you proceed, the better the result. Therefore, if possible, work with small image sections.
Reduce gloss with "Fill content"
The second method does not remove the highlights, but only dynamically reduces them. This method is recommended if you want to keep the structure of the original photo. You should therefore proceed as follows, especially for faces:
- Duplicate the image with the key combination [CTRL] + [J] in the layer selection.
- With the help of the selection tool (or improvement tool) you can now mark the individual areas.
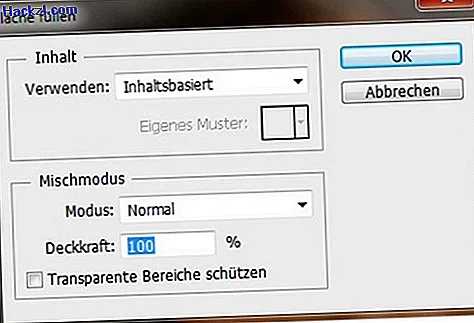
- In the "Edit" tab you will find the "Fill area" sub-item. In the new window you have to make sure that the menu item "Content-based" is selected under "Use:".
- Leave the mixing mode at "Normal", the opacity at 100 percent. Now you can reduce the opacity of the duplicated layer, significantly reducing the gloss.
- Depending on the image, the value for a uniform correction differs. You usually have to try different settings.
By the way, you can also add gloss and light rays afterwards to highlight certain areas of the image. You can read all the information in these instructions.
Latest videos
1. Method: The area marked here in red is moved to the area marked in green using the tool.

1. Method: The result is a soft, soft skin without reflections.
1st method: The shifting of the skin areas is repeated only several times (red area is shifted to green area).

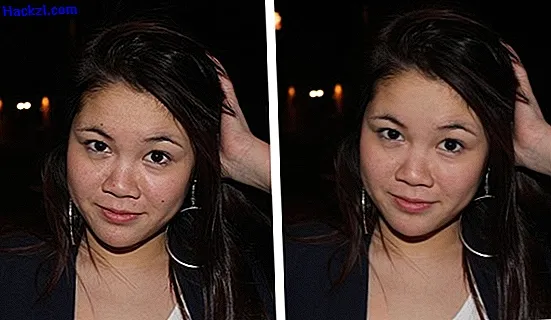
Comparison method 1: Before (left) | After (right)
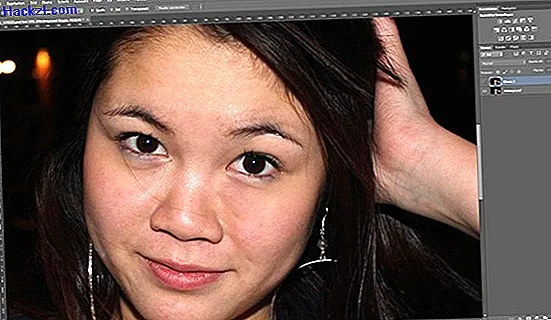
2. Method: Mark the light spots (red) and execute "Fill area".
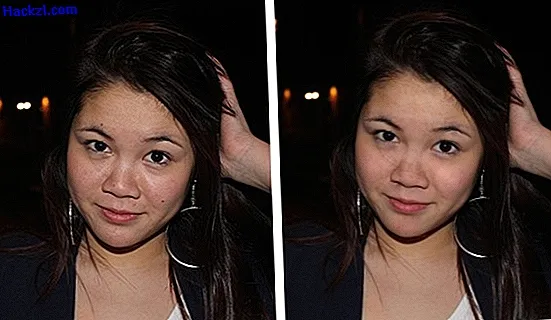
Comparison method 2: The retouched image (right) is significantly less glossy than the original.