
Photoshop: Generate light rays - how it works
With light rays you set accents in Photoshop and ensure dynamism in the image. In this practical tip we explain how you can create the effect.
Photoshop: Adjust environment - emphasize dark areas
In a fairly bright picture, light rays do not come into their own. Night shots are ideal for this effect. You can also prepare day shots for the light beam effect by emphasizing dark areas more. You can find screenshots in the picture gallery for a better idea of the individual steps.
- Open your image in Photoshop and create a new, empty layer.
- On the new layer, trace all dark areas and the areas that you want to darken with a large, soft brush in the foreground color black.
- Then change the layer mode from "Normal" to "Soft light".

Photoshop: Generate light rays - how it works
- Create a new, empty layer for the light rays.
- Now use the selection ellipse tool to draw several very narrow ellipses and fill them with white paint.
- With "Edit -> Free transform" you can not only adjust the size of these ellipses and move them to the correct position, but also distort them if necessary.
- With "Filter -> Soft Focus Filter -> Motion Blur" and "Filter -> Soft Focus Filter -> Gaussian Soft Focus" the light rays get their soft effect. The respective settings in the filters naturally depend on the size of the image and the ellipses. Play around with the values until you find the right setting.
- The rays probably still cover areas in which they shouldn't actually be visible. You can fix this problem by choosing "Layer -> Layer mask -> Show all". Now the corresponding mask appears in the plane view next to the ellipse plane. If this is activated, use a soft brush and black foreground paint to paint over the areas of the rays that you do not want to be displayed.
- The rays are actually done now. Of course there are no limits to your imagination with regard to further options. For example, you can define color effects for the rays using additional layers.
Latest videos
The original image is too bright. Here, rays of light would not really come into their own. So dark areas must first be emphasized.

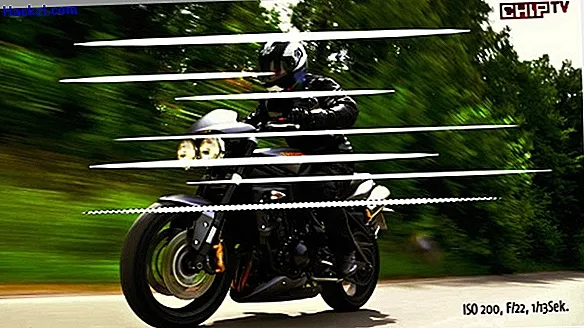
You create the light rays with the selection ellipse tool and fill them with white.
The light rays are created. Further processing with colors etc. has no limits.
