Photoshop: Create a rectangle without a fill - how it works
In this article we explain how you can use the professional photo editor "Photoshop" to create a rectangle without filling.
Create rectangle without fill in Photoshop - Here's how
In the following instructions, we explain how you can create a rectangle without filling using the complex "Photoshop" image processing software.
- Start "Photoshop" and open an image on which you want to create a rectangle without filling.
- Use the key combination [Ctrl] + [Shift] + [N] to create a new layer and select it to place the rectangle on it. In this way you can later select your rectangle frame with the shortcut [Ctrl] + [T] and move it freely on your image and scale it accordingly.
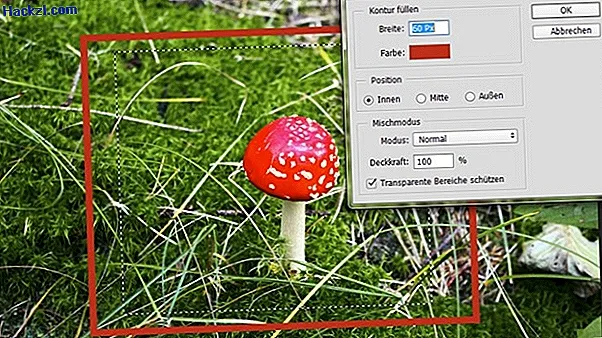
- Select the rectangle selection tool for the frame from the left tool palette and open your rectangular selection window in order to frame your image or to highlight a certain image section with a frame (see screenshot).
- Right click in your selection and select the option "Fill contour ...". A new window is opening up.
- In this editing window you can set the width, color, opacity and blending mode for your rectangle contour (see screenshot). You can also specify whether the colored rectangle frame should be inserted on the left, center or right of your selection.
- Confirm your settings with "OK" and save your picture when you are satisfied with your work.