Photoshop: Sharpen with the high-pass filter
Related Videos: Using High Pass Layers to Sharpen? A Smarter Trick in Photoshop (May 2024).
This guide explains how you can sharpen your photos with the high pass filter in Photoshop.
Sharpen with the high pass filter in Photoshop
The high-pass filter is one of several methods for subsequently sharpening an opened image in the professional photo editing software Photoshop. The following steps are the most effective ways to use the high pass filter.
- Start Photoshop and open the photo you want to edit.
- Duplicate your image layer twice and then hide the top layer.
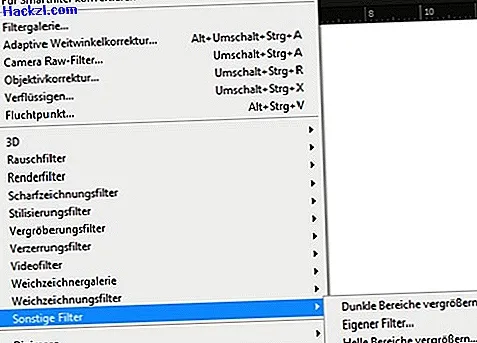
- Then select the second level and in the menu bar under "Filters" and "Other filters" go to "High pass" (see screenshot). A new window is opening up.
- Set the radius to approximately 10 to sharpen the rough image areas on your photo. Confirm your setting.
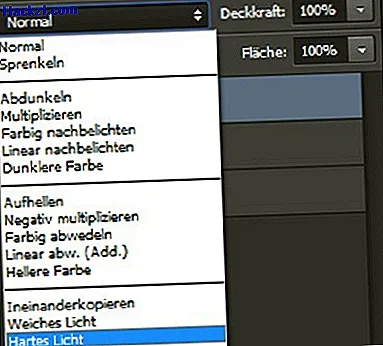
- Then change the blend mode from "Normal" to "Soft light". In this way, the rough image sections are highlighted.
Sharpen fine image areas in Photoshop with the high-pass filter
After emphasizing the coarser areas, you still need to accentuate the fine details in your image.
- Select the top level and show it again.
- Open the window for the high-pass filter for this level and set the radius to a relatively small value. With this setting, delicate areas of the image are sharpened.
- Set the blend mode from "Normal" to "Hard Light" to bring out the fine details and contrasts in your image.
- With this method, you have optimally adapted and sharpened the high-pass filter to your image. At the same time, the formation of unaesthetic image noise was prevented. Hide the top two levels briefly to make it easier to understand the before and after effect and your settings.
- Reduce all three levels to a single level and then save your image.