
Photoshop: Apply a tattoo - how it works
This practical tip explains how to apply a tattoo using Photoshop. A tattoo is a permanent decision. To test the motif and the position beforehand, you can use Photoshop to attach it to an image. Below is a step-by-step guide for Photoshop CS5 and Windows 7. The procedure for other versions of Photoshop is similar.
Apply tattoo: Open the motifs in Photoshop
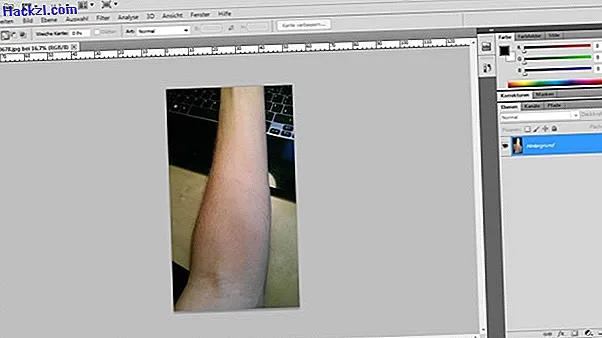
First open the two pictures - the place where the tattoo should be later and the actual tattoo - in Photoshop.
- Click "File" and then "Open" to load the two images into Photoshop.
- You can also drag and drop the images into the graphics window.
Assemble and align the tattoo
Then you need to merge the tattoo and body part in Photoshop and align the motif.
- Click on the tab of the later tattoo.
- Use the key combination [CTRL] + [A] to mark the entire image.
- Then use [CTRL] + [C] to copy the motif.
- Now click on the tab with the image of the body part.
- Use [CTRL] + [V] to insert the image as a new layer.
- Now use [CTRL] + [T] to align the motif on the body area and finally confirm with Enter.

Merge tattoo with body area in Photoshop
The tattoo still looks artificial on the later part of the body. Therefore, the tattoo is fused to the body part.
- Select the level the tattoo is on.
- Above the layer window, select the "Multiply" option instead of "Normal".
- In addition, set the opacity of the layer to approx. 80%.

Applying the tattoo with Photoshop: final finishing touch
Finally, the tattoo is adjusted to the body area.
- Use the [E] key to select the brush tool.
- Set the flow to approx. 50% in the settings.
- Reduce the opacity to approx. 60%.
- Now you can use the brush tool to adjust the tattoo to the body area.

This guide was created with Photoshop CS5 and Windows 7.