
Picasa: Watermark pictures - how it works
Thanks to Picasa, you can watermark photos to protect them from theft. This works both locally and when uploading to Google Photos. This article shows you where to find this practical function and how to use it correctly.
Picasa: Add watermark when exporting images
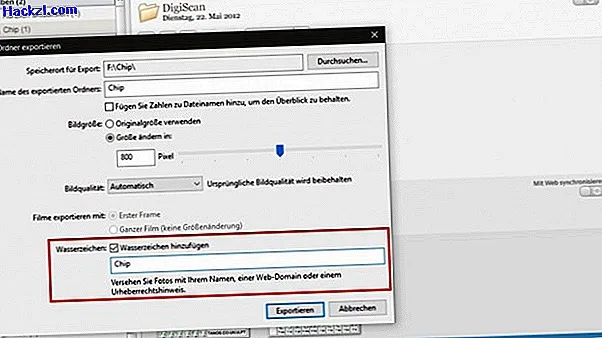
If you want to save the watermarked photos locally on your hard drive, proceed as follows:
- In Picasa, select the images you want to watermark.
- Click on "Export" in the photo tray.
- Now check the "Add watermark" checkbox.
- Enter the text for the watermark in the empty field and then click on "Export".
Picasa: Add watermark to Google Photos when uploading
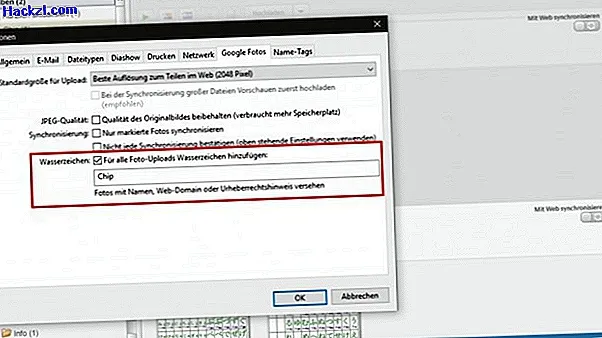
Picasa can also automatically watermark any images you upload to Google Photos:
- To do this, click on "Tools" in the menu bar and then on "Options".
- Now switch to the "Google Photos" tab.
- Place a checkmark next to "Add watermark for all photo uploads".
- Then enter the desired text in the watermark field.
- Save the change by clicking "OK".
You can read how to add a watermark to your YouTube videos in our next practical tip.