
Powerpoint: insert and design arrow - how it works
You can use arrows at PowerPoint to illustrate the relationships in your presentations. This practical tip shows you how to insert and design the symbol.
Powerpoint: insert arrows in presentation
First of all, you have to choose an arrow type. Currently you can find block and line arrows in PowerPoint:
- Click on "Insert" in the navigation bar and then on "Shapes".
- You will now see different shapes, including several arrows. Select the desired arrow with a click of the mouse.
- Then click with the left mouse button where you want to place the arrow. Hold the mouse button down and drag the symbol to the desired size.
- You can edit the position and size retrospectively by clicking the arrow and moving it with the mouse button pressed or dragging it to a corner of the frame.
- You can also rotate the arrow by clicking it and then moving the small circular arrow in the middle of the frame.
Powerpoint: Arrows freely
You can design the arrow symbol much more individually:
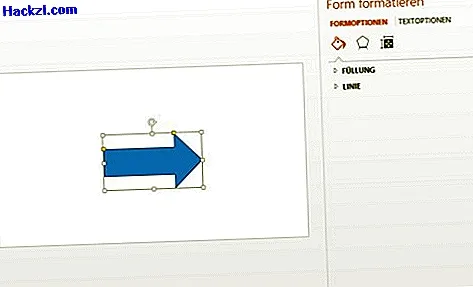
- Right click on the arrow and select "Format Shape".
- Now you can make various fine adjustments by clicking on the respective button. For example, you can change the color of the symbol or adjust the outline.
- If you need several uniform arrows, you should duplicate the finished arrow: Right-click on the symbol and select "Copy". Then right-click anywhere in your presentation and select "Paste".
- You can now rotate the arrow as described above, change the size and move it.
In the next practical tips, we will show you how to create diagrams and insert invisible notes in PowerPoint. This tip is for Microsoft Office Powerpoint 2013.