
Raspberry Pi: set up Minecraft Server - how it works
Related Videos: Let's build a Raspberry Pi 3 Minecraft Server (May 2024).
In the game Minecraft you can build freely in a 3D world according to your wishes. We show you how to set up a Minecraft server on your Raspberry Pi in the practical tip below.
Set up Minecraft Server on the Raspberry Pi
The Minecraft server solution Cuberite runs most smoothly and fastest on the Raspberry Pi with its low resources. To install it, you need to do the following:
- First open the console and use "wget //builds.cuberite.org/job/Cuberite%20Linux%20raspi-armhf%20Master/lastSuccessfulBuild/artifact/Cuberite.tar.gz" to download the latest version of the Minecraft server.
- Then you have to unpack the Minecraft server with "tar -xvzf Cuberite.tar.gz" and then delete the archive with the command "rm Cuberite.tar.gz".
- Now enter "cd Server" to change to the server folder and start the server with "./Cuberite".
- When you start up for the first time, you will see a few error messages because some configuration files are not yet available and will only be created. After the server has started, you can stop it with [CTRL] + [C].
- Now open the configuration with "nano webadmin.ini" and remove the semicolon in front of "[User: admin]" and "Password = admin". At the same time, you can also specify your user name and password for the login here.
- Now use "sudo apt-get install screen" to download the Screen program to run the server later in the background.
- Now you can start the server with "screen -dmS Cuberite ./Cuberite" in the background.
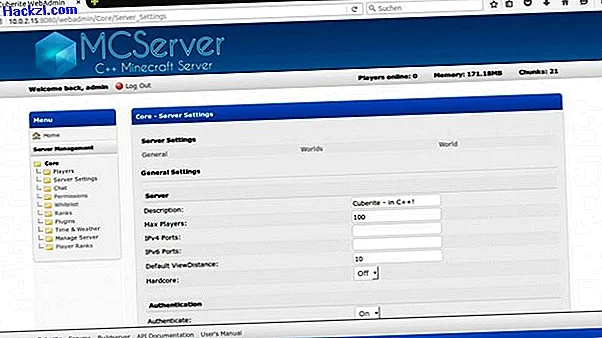
- In the browser you can now open the configuration page for your server under "// IP -your_Raspberry-Pi: 8080" and configure it according to your ideas.
The best Easter eggs in Minecraft can be found in our next article.