
Install and set up the scanner - instructions and tips
You can start up a scanner quickly and easily under Windows. In this practical tip, we will show you how to install and set up the device.
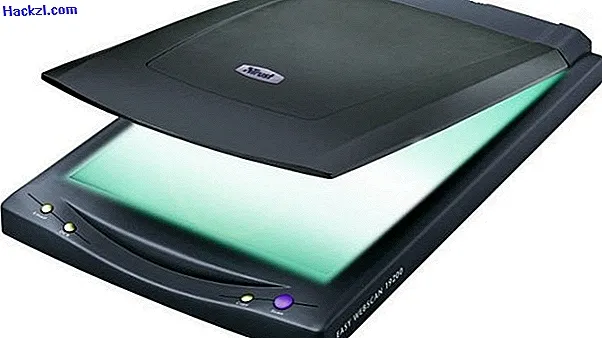
Install the scanner under Windows - this is how you proceed
First, the scanner must be installed in Windows:
- Connect the scanner to the computer, and then turn it on.
- After the scanner has been recognized by the PC, driver software is searched for. If it is not found automatically, you will be asked to insert the corresponding driver CD.
- If you do not have them at hand, you can also download the required driver from the manufacturer's website.
- To do this, you must cancel the current installation and install the downloaded driver later.
- After successful installation, the scanner is now available.
Setting up the scanner - the best tips
- Once the device and drivers have been successfully installed, you can scan the first document or image.
- You can do this using the "Windows Photo Gallery". To do this, click on "File"> "Import from camera or scanner" above and select your scanner.
- You can then adjust and set the quality of the scan. You can also display a preview.
- Some manufacturers bring their own software for scanning. You can also make precise settings there.
This practical tip relates to Windows 7. We will clarify what may happen if Windows 7 does not recognize your scanner in the next practical tip.