
Ubuntu: Set up DynDNS server
You can set up a DynDNS server under Ubuntu if you always want to reach your computer from the Internet. All you need is an account with a dynamic DNS service and a small piece of software that updates your IP with the dynamic DNS provider. Server services are already available to outsiders.
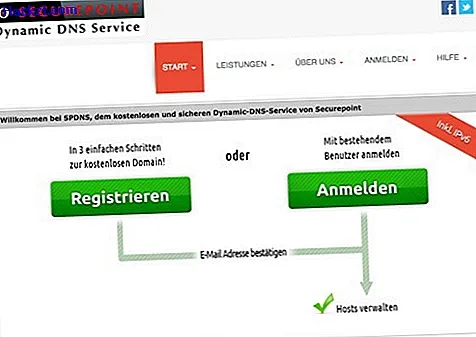
Set up DynDNS server for Ubuntu - select provider
First, choose a provider that has dynamic DNS services in the program. In addition to the best known, DynDNS, there are also a number of free providers. You will find numerous providers in our overview of free DynDNS alternatives.
- Create an account with the provider of your choice.
- Write down the data for your dynamic DNS client. Also check which server you can log in to later with a DNS client program and which protocol the provider uses. Many providers offer their own program that keeps your account up to date and passes on the IP of the Ubuntu PC - but most of them are for Windows.
- With a new account, user name, password, protocol and server address for the dynamic DNS client, you can now go to your own network. Make a note of the address you have chosen yourself according to the "meineadresse.dyndns.org" scheme.
Set up router and install ddclient
So that your internal IP in the home network does not change constantly, it is best to reserve a fixed IP with the DHCP server in the router. Then you can pass on the corresponding ports to Ubuntu. Now you only need the ddclient program and your Ubuntu PC is accessible from the outside:
- Log on to your router and reserve a fixed IP address for your Ubuntu PC in the DHCP server. You can find out how to get there in this guide. Often it is enough to enter a manual IP in the system settings under "Network".
- Now look for the menu for port forwarding or "Port Forwarding" in the router. Depending on which services you later want to use with your Ubuntu PC from the outside, you should forward the corresponding ports. The HTTP uses, for example, port 80, FTP port 20 and SSH port 22.
- You have now set the router, now install the dynamic DNS client. Open a terminal in Ubuntu and type this command:> sudo apt-get install ddclient <. Confirm the command with your password and follow the instructions.
- You will now be asked which dynamic DNS provider you have selected. If you cannot find your provider in the list, select "other" and get your login data, protocol and the address of the server of your provider.
- When asked about the dynamic DNS server, enter the address (for example "members.dyndns.org"). Then set the protocol (for example "dyndns2"), and finally your login data.
- For the network interface, select eth0 for a cable network or wlan0 for a radio connection. The domain name is then requested, i.e. the address at which you will later be reachable from outside. Enter this completely.
- You are almost done: The ddclient is now set up and can then be started manually with the command> sudo service ddclient start <. You can now be reached from the Internet. Feel free to worry about security and switch off all services and ports that you do not necessarily have to reach from outside.

If you have never been on your router before, read this practical tip on how to configure your router.