Ubuntu: Install and set up OwnCloud - how it works
Related Videos: Install OwnCloud on Ubuntu 18.04 LTS with Apache2, MariaDB and PHP 7.1 (May 2024).
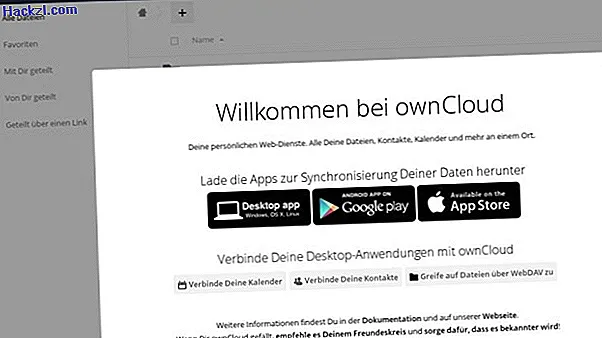
With OwnCloud you have your own cloud server. Find out in this practical tip how to install it on Ubuntu.
Install and set up OwnCloud on Ubuntu - so it'll work
- Before you start with the following steps, you should use "sudo apt-get update" to make sure that your system is up to date.
- Then continue downloading the installation package by entering the following command: sh -c "echo 'deb //download.owncloud.org/download/repositories/stable/Ubuntu_14.04/ /' >> / etc / apt / sources.list.d / owncloud.list "
- Then you need the release key, which you get with "wget -nv //download.owncloud.org/download/repositories/stable/Ubuntu_14.04/Release.key -O Release.key" and with "sudo apt-key add - <Release.key ".
- Then start the installation of OwnCloud with "sudo apt-get install owncloud". To do this, follow the instructions in the process.
- After successful installation you will find the files in the "owncloud" subfolder.
- Now you will be asked to set an administrator password. Make sure you remember this password.
- So that you can also manage the server, we recommend phpMyAdmin. You can install this with "sudo apt-get install phpmyadmin".
- After successfully installing phpMyAdmin, you can now use and manage OwnCloud.