
Ubuntu: Setting up a proxy - how it works
This practical tip shows you how you can easily set up a proxy on Ubuntu.
Ubuntu: Setting up a proxy - how it works
For example, if you want to use your computer on a company network, you may need to set up a proxy.
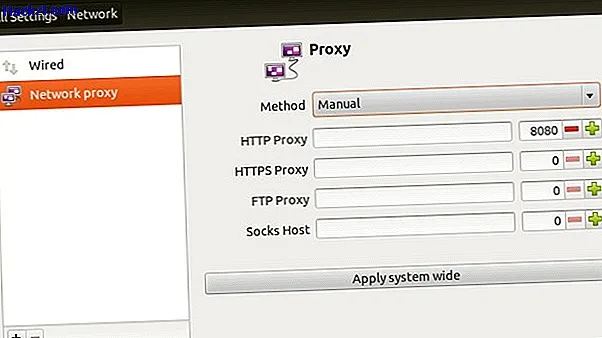
- First switch to the settings and navigate to the network settings.
- Click here on "Proxy" and enter your proxy data.
- In order to be able to use the proxy with APT, edit the file "/etc/apt/apt.conf" and replace the text here with the commands »Acquire :: http :: proxy" // username: : port / ";«, »Acquire :: ftp :: proxy" ftp: // username: : port / ";« and »Acquire :: https :: proxy" // username: :port/";". However, do not forget to adapt them to your personal proxy settings accordingly.
- Also edit the "/ etc / environment" file and add the commands "http_proxy = // username: : port /", "ftp_proxy = ftp: // username: " after "PATH ..." : port / «and» https_proxy = // username: : port / «. Don't forget to save the files at the end. Now you have successfully set up the proxy.
In the next practical tip, you will learn how to activate the Linux subsystem.