Windows 10: Set the start menu with tiles - so it'll work
Related Videos: Add any program you want to Windows 10 Start Menu (May 2024).
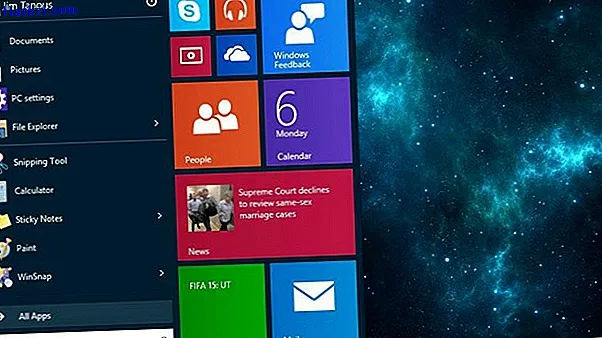
In your own Windows 10 start menu, you can create your own tiles and thus optimize the menu according to your ideas. This practical tip shows you how to adapt tiles and arrange them according to your wishes.
Set tiles in the Windows 10 Start menu
- Add: Right-click on an application or program and select the "Pin to Start Menu" option. Another tile is attached to the right of the start menu. You can find all possible tiles via "Windows"> "All Apps".
- Change size: To adjust individual tiles, right-click on the desired tile and select the desired size. The options are "Small", "Medium", "Wide" and "Large".
- Arrange: If you want to move a tile, select it with the left mouse button and drag it to the desired position with the button pressed.
- Group: With Windows 10, you can also create new tile groups. Simply drag a tile to the top of the start menu. As soon as a light frame appears, let go of the tile.
- Name: Any number of tiles can be attached to a group. There is also the option of renaming groups. In the title bar of the group you can assign a new name under "Rename group".
- Adjust width: With a small start menu, an app of a new group is also shown below. If you drag the start menu wider, the tile is then displayed next to the first group, otherwise you have to scroll down.