
Windows 10: Disable driver signature
Related Videos: How To Disable Driver Signature Enforcement in Windows 10 (May 2024).
If you want to install an unsigned driver under Windows 10, you must first deactivate the driver signature. We present two options.
Windows 10: Deactivate driver signature in UEFI
Note: These instructions only work if your computer uses the UEFI and not the old BIOS. This is usually the case if you bought your PC with Windows 8 or 10 or if it was produced after 2012.
- Start the UEFI first. There are several ways to do this under Windows 10. In the video below you can see how it works. We have also put together a written manual for you.
- If the UEFI has opened in a blue design, select "Troubleshoot" there.
- You will now find the "Start settings" under the "Advanced options".
- With the button "Restart" all available start settings are displayed after a few seconds.
- Select the "Deactivate driver signature enforcement" option with the [F7] key (see image).
- If you start Windows, you can install the unsigned driver. Then switch the driver signature on again in the same way.

Disable driver signature on Windows 10
Note: If the following instructions do not work, add "-" with dashes "/".
- If you simultaneously press the [Windows] and [X] keys, a small menu opens at the bottom right of the screen.
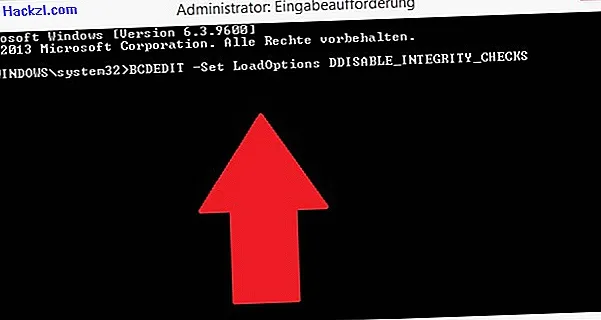
- Select the "Command Prompt (Administrator)" option and confirm the query with "Yes".
- In the new window, enter the command "BCDEDIT –Set LoadOptions DDISABLE_INTEGRITY_CHECKS" without the quotation marks and confirm with [Enter].
- Then enter the command "BCDEDIT –Set TESTSIGNING ON" and confirm again with [Enter].
- If you close the window, unsigned drivers can be installed in Windows 10.
- Note: To deactivate, you need the commands "BCDEDIT - Set LoadOptions EENABLE_INTEGRITY_CHECKS" and "BCDEDIT - Set TESTSIGNING OFF".
You can find further questions and answers about Microsoft Windows 10 in this guide