
Install Windows 7 on MacBook Air - how it works.
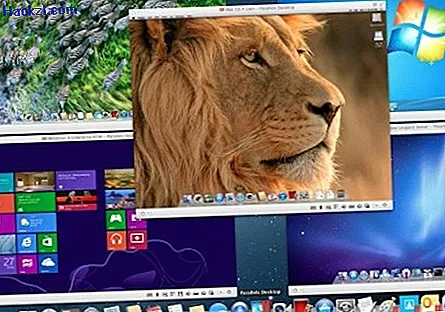
The best way to install programs that run under Windows 7 on your MacBook Air is to use the "Parallels Desktop" program. Here's how to emulate any Windows operating system on your MacBook. We'll show you how it works.
Windows programs on the MacBook
Unfortunately, not all Windows programs are also available for Mac. If you urgently need a few programs, you don't necessarily have to buy a new additional computer: With the "Parallels Desktop" program, you can run a complete Windows operating system on your MacBook Air or on other Apple computers. Here's how it works: The program creates a virtual machine. So it simulates a computer. On this you can start Windows and thus also the required programs. The biggest advantages are:
- With "Parallels" you have a much simpler program than with alternatives like "VirtualBox", because Parallels was specially developed to simulate Windows on Mac.
- For installation, you need the "Parallels Desktop" program yourself, as well as a Windows installation DVD or just an activation code for Windows. With a MacBook Air, you can install Windows with an image file from the Internet, an external drive, or another Mac with a DVD drive.
- Unfortunately, emulating the Windows operating system also slows down your Mac because it takes a lot of power. This can lead to slow Windows, especially on the MacBook Air and MacBook Retina. However, if your Mac has an SSD or Fusion drive, Windows can even run faster than on a separate laptop.
Install Windows 7 with Parallels Desktop on MacBook Air
To install Windows with "Parallels Desktop", you need the program itself and an installation DVD from Windows 7:
- Install "Parallels Desktop" and start it.
- Put your DVD with Windows 7 in another Mac and activate the "Removed CD / DVD sharing". Alternatively, you can download Windows 7 and save the image file to your MacBook Air.
- Start Parallels and select New Virtual Machine. Then select "Install Windows or another OS"
- In the following window, select either the removed DVD drive or the image file. The "Find automatically" function supports you here.
- Enter your Windows product key in the following window and click "continue".
- Then decide in which mode you want to emulate Windows. You can also change these settings later.
- In the following window, enter a name for the virtual machine - for example "Windows 7" - and start the installation. This can take a few minutes.
- When the installation is complete, you can start Windows. When you start it for the first time, a program called "Parallels Tools" is installed. This ensures better communication between Windows and your Mac.

An alternative to Parallels is installation with Bootcamp. Another practical tip will tell you how to install Windows with Bootcamp on Mac.