
Windows 7: How to set up a Raid 0
Related Videos: How to configure raid 0 in the bios and install windows 7 (May 2024).
If you want to speed up your hard drive under Windows 7, you can set up a Raid 0. We'll show you how it's done.
This is a raid 0 and it brings
- A raid 0 increases the performance of your hard drive. The data is split between the two hard drives so that they can be read and written more quickly.
- The disadvantage of Raid 0, however, is that in the worst case, your data will be lost more quickly. If one of the two hard drives is defective, the other is still ready for use, but the data is lost.
Windows 7: The requirements for a raid 0
- Under Windows 7 the creation of a Raid 0 is only possible under the Windows versions Professional and Ultimate.
- In theory, you can use multiple hard drives in a raid. However, we use two hard drives as standard. The hard disk on which Windows is running is not touched.
- The hard drives should be as empty as possible, since Windows overwrites the content in the following instructions.
Windows 7: How to set up a Raid 0
- Press the [Windows] and [R] keys simultaneously so that the "Execute" command opens.
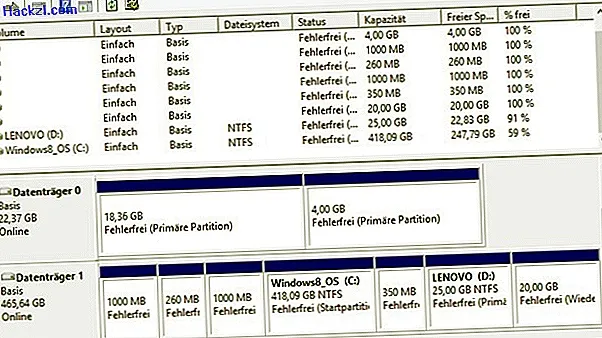
- Enter "diskmgmt.msc" here and confirm with "OK". Then the disk management opens.
- Find the two unallocated hard drives here and select one of them.
- Right-click on the hard drive and select the "Add new striped volume" option.
- Click on "Next" and in the next step select all other hard drives. In our case, we select our second hard drive on the left and click the "Add" button.
- Then assign a letter and a name for the drive and otherwise always click "Next".
- Confirm the following warning with "Yes". The raid drive is then created.
In the next practical tip, we will show you how to test your RAM under Windows 7.