
Windows 7: Load restore point
System recovery has been a simple and useful tool for some versions of Windows to completely undo installations that have gone wrong. However, on Windows 7 this feature is a bit hidden - we'll show you how to find it anyway and load a restore point.
Find the recovery menu
Unlike in Windows XP, the system recovery console is a little difficult to discover.
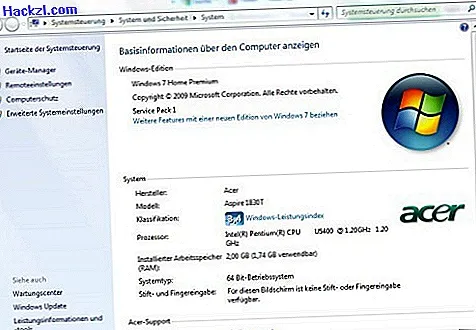
- Open the "Control Panel" and select "System and Security" and then "System".
- Alternatively, you can get there by right-clicking on the "Computer" icon - either on the desktop or in the start menu. In the selection dialog that opens, select "Properties" again.
- Now select the item "Computer Protection" in the left menu. A small window opens with the options for system recovery.
Create a restore point
In the lower area of the opened window you will find the item "Create". After clicking on this, you can choose a name for the restore point - preferably a meaningful description - and it will be created by your system.

Load the restore point
If you have made unpleasant changes to your PC, you can use the point created to reset the system to what it was at the time.
- To do this, select "System Restore" in the upper part of the window (see screenshot above). In the dialog that appears, select the point to which you want to reset.
- In the following dialogs you confirm that you really want to make the changes and that you cannot use the PC during the restore.
- After confirmation, it starts: Depending on the size of the hard disk and the number of changes, the process can take a few minutes to half an hour or even an hour.
- After completing this process, log in normally and receive a confirmation of the system restore.