
Windows: Take pictures with a webcam - how it works
A snapshot with the webcam? No problem! This guide shows you how to take pictures with your webcam in Windows.
Windows 8: Take pictures with a webcam
Windows 8 has a mostly pre-installed camera app. You can use these to take pictures:
- Press the [Windows key] + [S] and search for the keyword "camera". Open the app of the same name.
- If you have an integrated webcam, it will be used automatically. You must first connect an external webcam to the computer and install it if necessary.
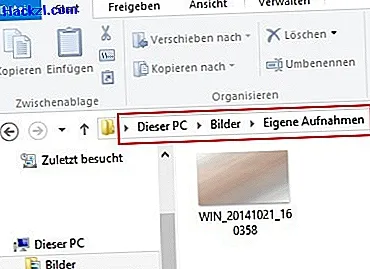
- In the camera app, you can take photos using the camera icon on the right. These are saved in your library under "Pictures"> "Own recordings".
Windows 7: Take pictures with a webcam
To take webcam pictures in Windows 7, you need additional software:
- If software is included with your webcam, you can use it. Alternatively, you can also use the free program "ManyCam".
- Install the program and then start it.
- Click the camera icon to take a photo. With "ManyCam" you can add various effects to your recording.
- The photos are saved in your library under "Images"> "ManyCam".
- Should ManyCam not appeal to you, the "Yawcam" tool is a simple alternative.
