
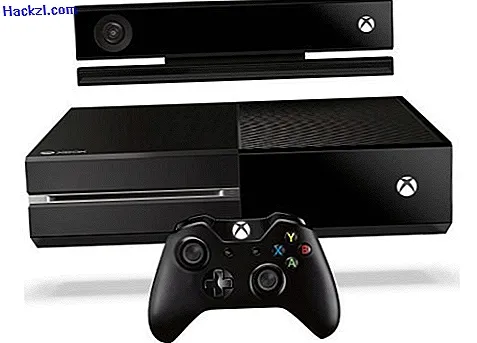
XBOX One: Replacing the hard drive - a guide
Related Videos: How To: Replace the Hard drive in your Xbox One (May 2024).
Many Xbox One users need more hard drive space. We'll show you how to replace the built-in HDD.
preparation
First of all, the note that the manufacturer's warranty on the Xbox expires when the HDD is replaced. You need the following tools:
- Plastic case opener
- T9 and T10 Torx screwdrivers
- Antistatic mat, wristband or the like
Xbox One HDD exchange in simple steps
- Remove the guarantee seal.
- Use a plastic tool to carefully pry the fan cover from the edge.
- Slide the plastic tab on the front corner of the housing backwards and remove it.
- Use a plastic spatula to separate the upper and lower parts of the case. Start at the back of the case and work your way to the front. Warning: Numerous clips hold the two parts together.
- Carefully lift the upper housing cover and push it back slightly.
- You can loosen the ribbon connector by pushing the lock up with tweezers. Then release the ribbon cable from the plug and remove the upper part of the housing.
- You can only remove the front of the housing after the ribbon cable has been disconnected as in the previous step.
- Carefully detach the speaker connector on the front board.
- You can remove the wifi module from the sheet with a T9 Torx screwdriver.
- Open the inner metal case after removing a total of 8 T10 screws.
- The hard disk unit is visible under the metal housing. The drive is connected to a SATA data cable and a power cable, which you disconnect.
- Finally, all you have to do is remove the 4 T10 Torx screws that hold the drive on the plastic module.
- Now you can replace the drive and assemble the Xbox in the reverse order.