Create timeline with PowerPoint
Related Videos: Animated PowerPoint Timeline Slide Design Tutorial (May 2024).
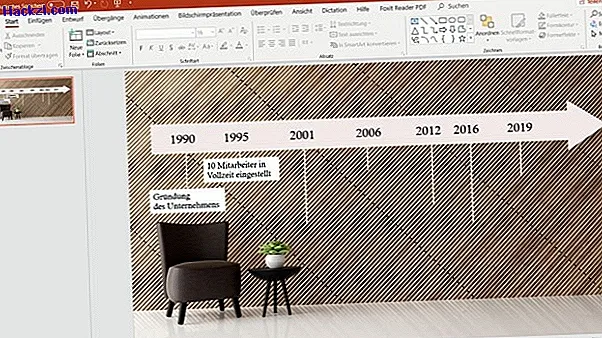
With a timeline in PowerPoint you can present various data in an impressive way. However, PowerPoint does not offer a tool with which you can automatically generate such a beam. We will therefore show you how you can still show a chronological course with a few clicks.
Creating a timeline in PowerPoint - Instructions
- Open PowerPoint and select "Shapes" from the "Insert" main menu. Now a window opens with many different graphic elements. For a timeline, it is best to use an arrow from the "Lines" area or the "Block arrows" area.
- Once you have clicked on an element, you can drag the arrow or line to the desired length with the mouse button pressed.
- Do the same for individual markings: Click "Line" and drag to the desired position in the desired length. You can still change the position with the arrow keys. Use the mouse to vary the length.
- You can use this procedure to create additional markings or right-click and copy or paste to duplicate the markings in the same length.

Format timeline in PowerPoint
- If you have clicked on a graphic element, you can change the thickness, the color and the type of the line (for example dashed) in the so-called shape types under the "Format" menu.
- In the format menu you can also adjust the length of the elements to the millimeter and add text fields for labeling.
- Since each line is counted as an individual element, you have to summarize all timeline units in an animated presentation.

Label the timeline
- Click on "Insert" and "Text field" to insert a text box for the label at the desired position. You have to do this for the labeling of the timeline itself, as well as for the individual events on the timeline.
- If you click on an element, you can also change the background color of the text field using "Shape formatting" and "Fill effect".
- If you want an animated text field to be displayed (for example, all events one after the other in a lecture), click on the first text field and then select "Animations" from the menu at the top. There you decide on an animation and repeat this for all other text elements that you want to display.