
Windows 8.1: Set up VPN - how it works
To access your company network from home, for example, you need to set up a VPN connection. This practical tip shows you how to connect to a VPN network under Windows 8.1.
Set up a VPN network in Windows 8.1
Follow the steps below to set up a VPN network in Windows 8.1:
- Right-click on the network symbol to open the selection window. You can find the network icon in the lower right corner of the taskbar.
- Click on the item "Open Network and Sharing Center".
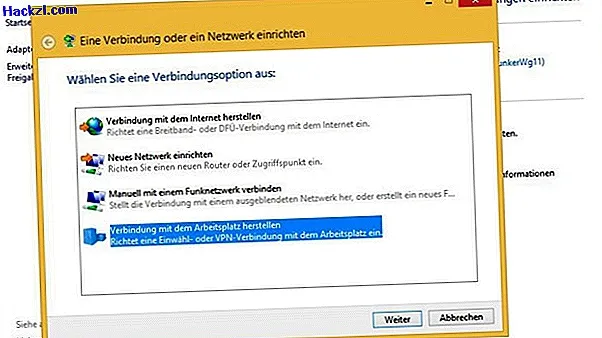
- In the open Network and Sharing Center, select "Set up a new connection or network".
- Now you have to click on the lowest point "Establish connection with the workplace".
- If connections have already been set up, select "No, create a new connection".
- Then you have to click on "Use the Internet connection (VPN)" in the list.
- Enter the IP address of the VPN server in the following window. You can also define a name for the connection here. Finally click on "Create" to save the configuration of the VPN connection.
Connect to a VPN network in Windows 8.1
To activate the created VPN connection, only the following two steps are necessary:
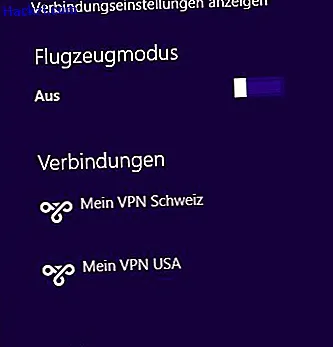
- Left click on the network icon located in the lower right corner of your taskbar.
- Select your new VPN connection under "Connections". When connecting for the first time, you still have to enter your access data. You can save this permanently.
If you need another VPN provider, we have compared the 5 best providers for you.