
DaVinci Resolve: Tutorial for beginners
In this practical tip we give you a basic introduction to DaVinci Resolve.
DaVinci Resolve: The project manager
The first thing you see when you start Resolve is the project manager.
- Here you can easily create a new project with just a few clicks.
- Folders can also be created here to organize your projects.

DaVinci Resolve: The "Media Pool"
The Media Pool is primarily intended to import video and audio files.
- You can also edit the settings of your project here by clicking on the gear on the bottom right.
- Here you can edit the resolution and frame rate, for example.

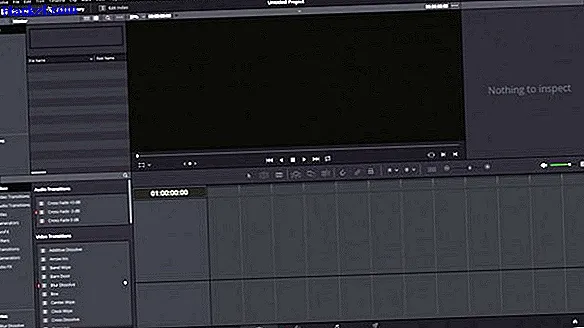
DaVinci Resolve: The "Edit" area
In the edit area you will find all the important tools you need for a successful video editing.
- On the far left you will find the files of the media pool as well as some audio and video effects, which you can drag and drop into a video track.
- With [A] you can switch to the normal mouse pointer. This can be used, for example, to move video tracks. Use [T] to activate the trim tool, which adjusts clips in length. With [B] you can "cut through" clips at certain points.

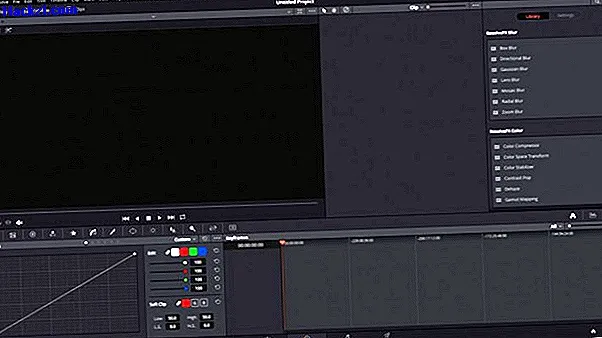
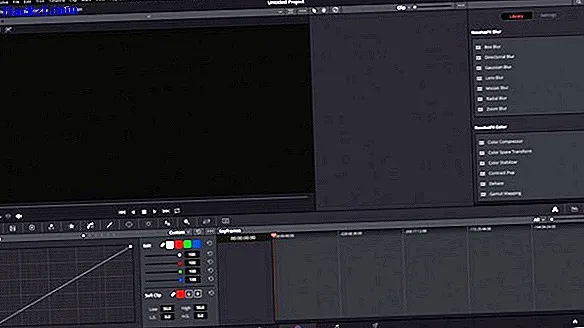
DaVinci Resolve: The "Color Grading" area
This area is important for color correction of videos.
- Read here how color grading works in DaVinci Resolve.
DaVinci Resolve: "Fairlight"
Here you can make all settings related to the audio tracks.
- You can cut your audio files, for example, in length.
- The volume and amplification can also be adjusted later.
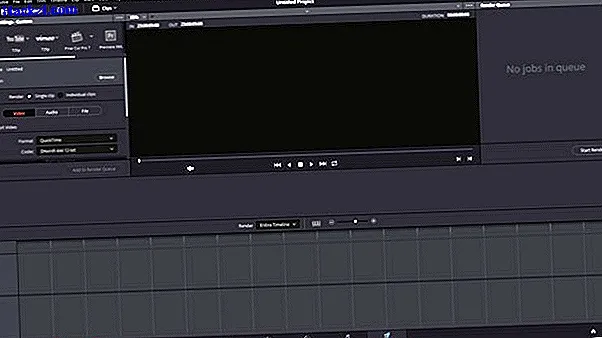
DaVinci Resolve: "Deliver"
When you've finished editing your video and want to render it, do it in the "Deliver" tab.
- Here you can choose the resolution as well as the bit and frame rate of the later video.
- If you are not yet familiar with bit and frame rates, you can also choose a render template.
In the next practical tip, we will show you how to remove a green screen at DaVinci Resolve.
Latest videos
In the project manager you can easily create a new project with a few clicks.

The Media Pool is primarily intended to import video and audio files.

In the edit area you will find all the important tools you need for a successful video editing.
The "Color Grading" area is very important for color correction of videos.
With "Fairlight" you can make all settings related to the audio tracks.
When you've finished editing your video and want to render it, you'll need to go to the Deliver tab. Here you can choose the resolution as well as the bit and frame rate of the later video. If you are not yet familiar with bit and frame rates, you can also choose a render template.
